Perimeter Joint Failure
Cracked, missing or poorly bonded sealant between the window frame and surrounding wall can provide a direct rain path.
Water appearing beside or below a window does not necessarily mean the brick itself is “leaking.” The entry point may be a failed perimeter joint, flashing, a blocked drainage path, cracked masonry, the window assembly, or a location higher in the wall.
The key is to understand how the wall is supposed to manage rain, then trace where that system has stopped working.
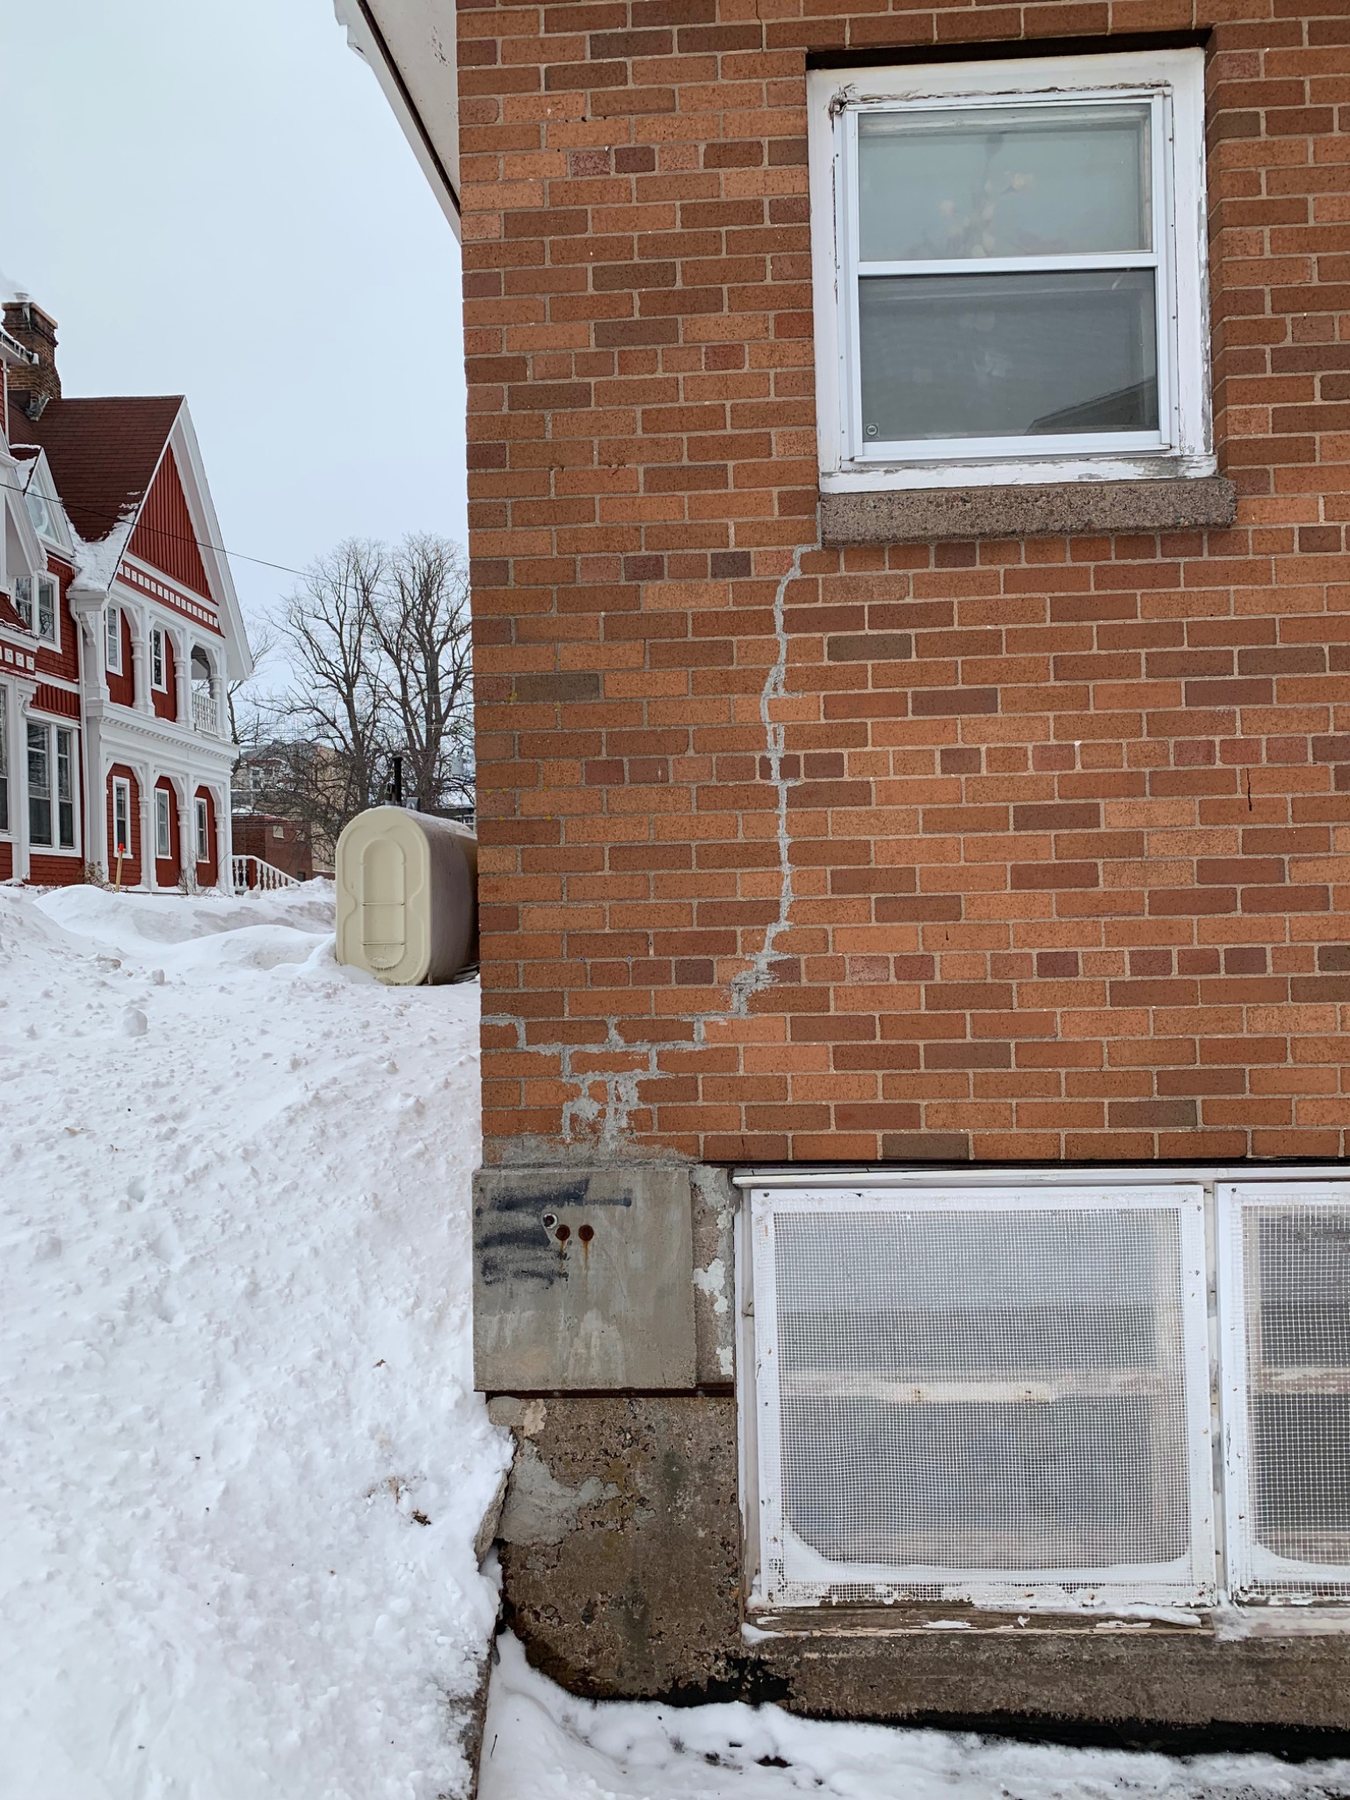
Openings are vulnerable transitions. Brick, mortar, flashing, steel, sealant, window frames and drainage details all meet within a relatively small area.
In a modern drainage-type brick veneer wall, the outer brick is not intended to be perfectly waterproof. Some rain can pass through the masonry. The cavity, water-resistive barrier, flashing and weeps are intended to collect that water and return it to the exterior.
Older solid masonry walls manage water differently. Their thickness and material mass can absorb and release moisture, and many do not contain a modern drainage cavity or concealed flashing system.
That distinction matters because a repair that makes sense on modern veneer may not apply to an older multi-wythe brick wall.
More than one path can be active at the same opening.
Cracked, missing or poorly bonded sealant between the window frame and surrounding wall can provide a direct rain path.
Water collected above the opening may not be directed safely outward if flashing is absent, damaged, short, poorly terminated or buried incorrectly.
Water can collect when weeps are blocked or mortar droppings bridge the drainage space and prevent moisture from reaching the flashing.
Water can enter at the sill, end joints, window corners or concealed sill-pan details and then appear below the opening.
Open mortar joints, cracked brick or movement around the lintel can provide additional rain paths near the window.
Glazing seals, frame joints, window weeps and installation details can leak independently of the masonry.
Brick veneer is a drainage wall. The goal is not to pretend that no rain ever crosses the brick face. The hidden drainage system has to manage the water that does.
NRC Canada research on rain penetration and masonry walls emphasizes that good construction details are necessary to control rain, including flashing, weep holes and details that direct water away from vulnerable areas.
Brick Industry Association guidance likewise treats drainage walls as systems: brick, an air space or cavity, a water-resistive barrier, flashing and weeps work together.
If one component is missing or interrupted, water that would normally drain harmlessly can find a path into the window opening or interior wall.
Investigate masonry, flashing, roof or wall details higher up. Water can descend inside a cavity before reaching the top of the opening.
Perimeter joints, head flashing, lintel-area cracking and water travelling from above are all possibilities.
Check sill joints, concealed pan flashing, window-frame drainage and whether water is entering the wall at the jambs and collecting below.
Wind pressure can drive water through joints and defects that remain dry in ordinary vertical rainfall, making exposure direction an important clue.
BIA guidance recommends flashing where the drainage cavity is interrupted, including at lintels over openings. Weeps should be installed immediately above the flashing so collected water can drain.
Flashing also has to terminate properly at its ends. End dams or turned-up ends help prevent water from simply running off the flashing into the adjacent wall.
A leak can therefore occur even when flashing technically exists if it is discontinuous, punctured, poorly lapped, terminated incorrectly or unable to drain because the cavity is blocked.
Look above the frame. The masonry directly over a window is where lintel support, flashing, weeps and movement all meet.
The joint between a window frame and adjacent construction has to manage movement while limiting direct rain entry. Failed sealant can absolutely leak.
But NRC work focused on Atlantic Canada specifically cautions against relying on external caulking or face-sealing as both the rain deflector and air barrier. That approach can compound leakage when the wall and joint behind it are not properly detailed.
Good perimeter-joint repair means removing failed material where appropriate, preparing clean bonding surfaces, using compatible backer and sealant details, and preserving the wall's intended drainage paths rather than indiscriminately smearing sealant over masonry joints and weeps.
Movement changes the water path. A crack at a window corner can open a new route through otherwise sound brick and mortar.
Cracking around an opening can come from settlement, thermal movement, corroding steel, lintel deflection or other support conditions.
Once joints or brick units open, wind-driven rain has a more direct route into the wall. Recaulking the window perimeter may not affect that path at all.
If the masonry is lifted, sagging, displaced or repeatedly cracking around the lintel, diagnose the movement before treating the opening as a simple sealant leak.
Read the lintel and opening cracks guide →Window sills should direct water away from the wall. End joints, cracks, insufficient slope or poor drip details can allow water to remain against the opening.
In modern assemblies, concealed sill-pan or sub-sill flashing may provide a second line of defence beneath the window. If that system is absent, damaged or poorly connected to the wall's water-resistive layer, leakage may appear directly below the window.
BIA guidance also emphasizes flashing and end conditions at masonry sills so collected moisture drains outward rather than running into adjacent wall areas.
Horizontal surfaces deserve attention. Sills, ledges and projections collect more water than a vertical wall and need reliable slope and drainage.
Window frames contain their own joints, gaskets, glazing seals and drainage paths. Some window systems intentionally collect small amounts of water and discharge it through frame weeps.
If those pathways are blocked or frame joints fail, water may enter the interior even when the surrounding masonry is functioning correctly.
Replacement windows can add another complication. A newer window may be installed into an older masonry opening with altered perimeter details, incomplete sill flashing or sealant bridging that does not recreate the original drainage strategy.
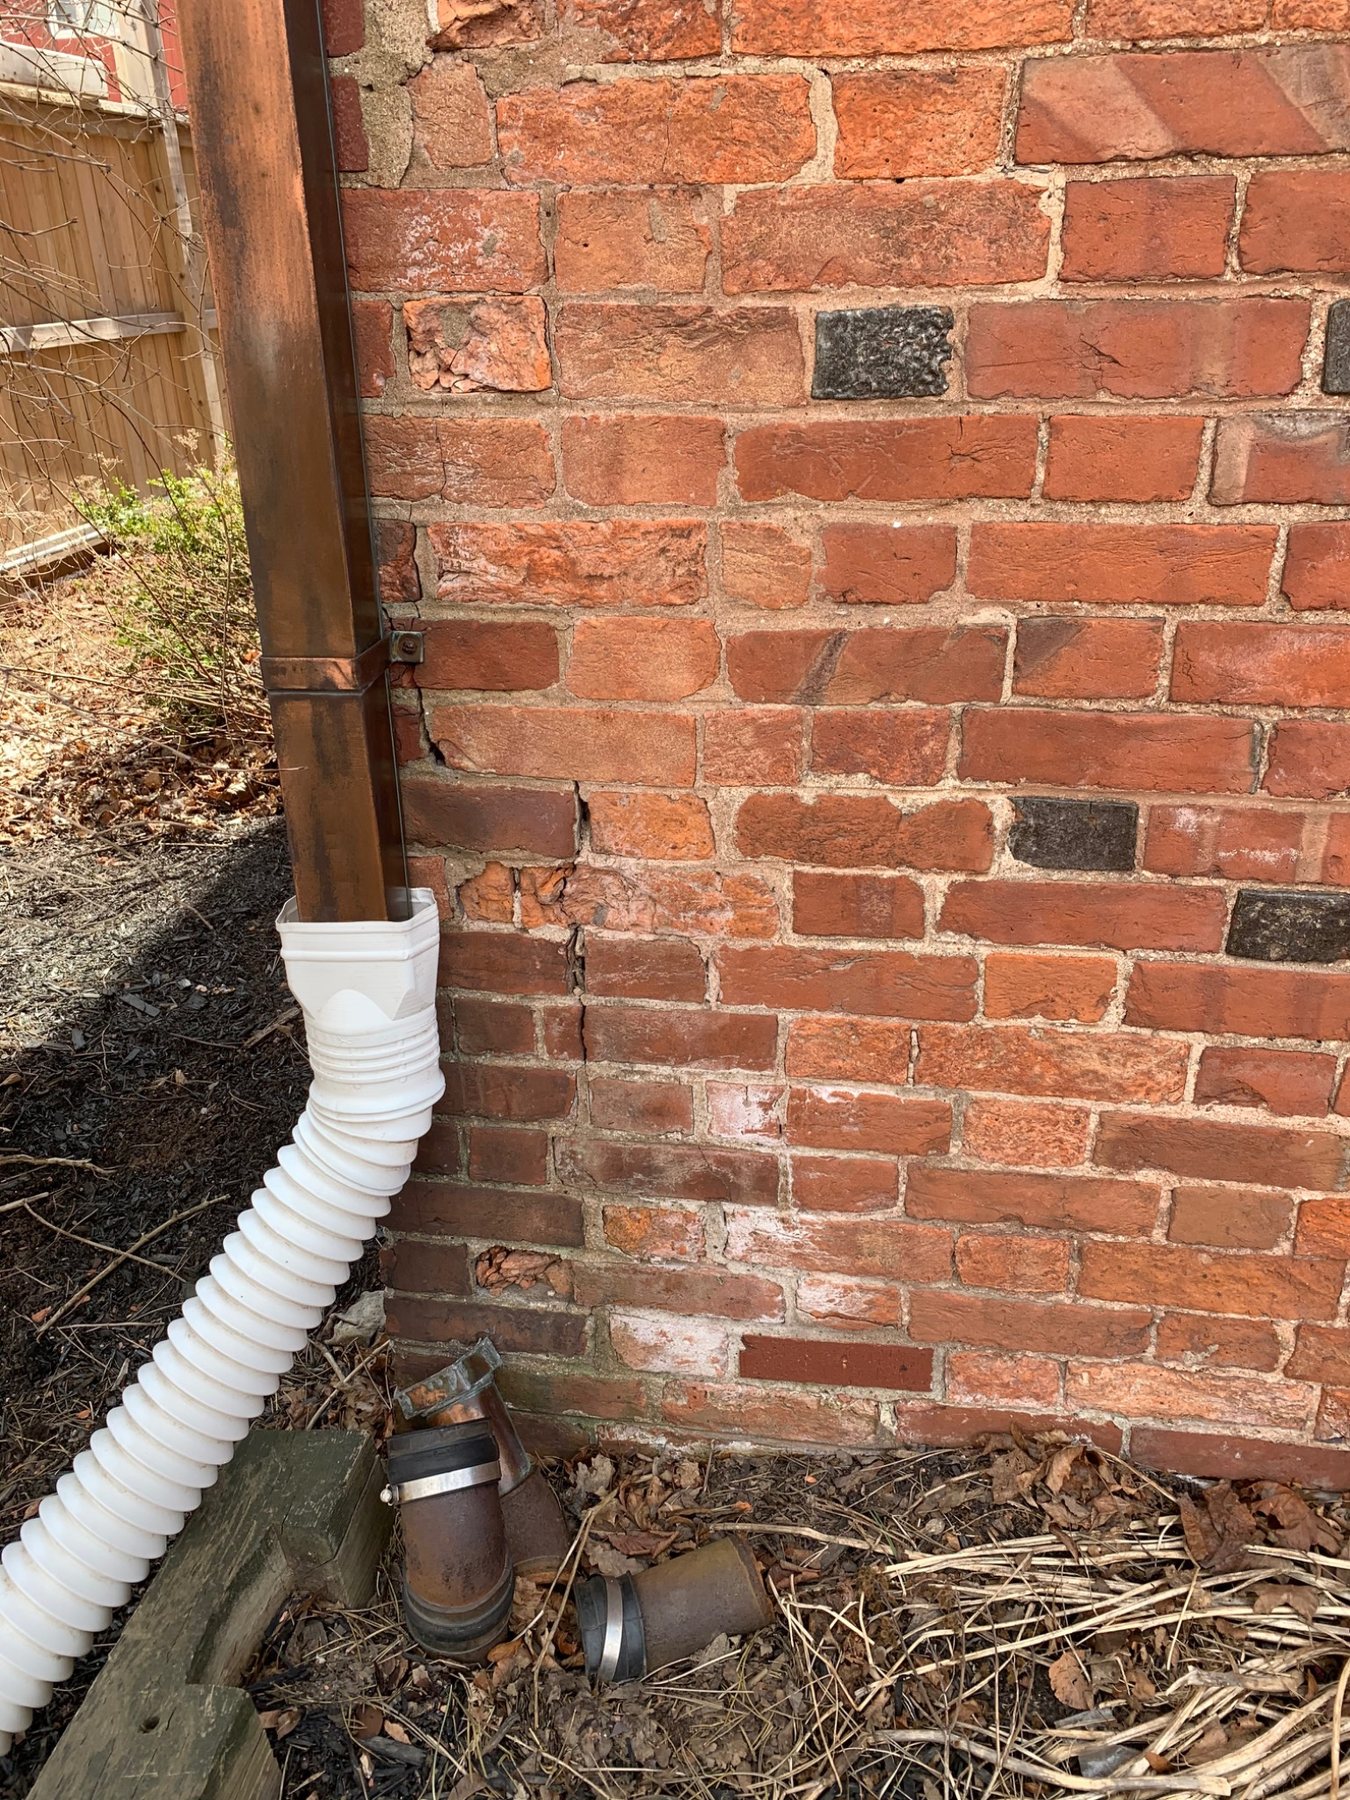
Look higher and wider than the window. Concentrated runoff can enter the wall above the opening and travel before it becomes visible inside.
Roof intersections, overflowing gutters, parapets, upper windows, cracked masonry and other penetrations can introduce water above the affected opening.
Gravity then carries it down through a cavity, along framing or across flashing until the window interrupts the path.
This is why repeatedly recaulking the same window can fail when the actual entry point is a metre or more above it.
Avoid changing several details at once before you understand which one failed.
Note wind direction, rain intensity, duration and whether the leak follows snowmelt or only certain storms.
Look above and beside the opening for cracks, roof runoff, upper openings and transitions.
Check perimeter joints, sill, lintel, weeps, flashing clues and masonry movement.
Map the interior stain to the wall assembly rather than assuming the entry point is directly opposite it.
Where controlled water testing is needed, isolate small areas in a planned sequence rather than saturating the entire wall at once.
Restore flashing, drainage, joints, masonry or window details according to the actual failure found.
Spraying an entire wall or directing a pressure washer at masonry joints can force water into places ordinary rain would not reach and create misleading results.
Controlled diagnostic testing works best when individual zones are wetted in a deliberate sequence, starting low and progressing upward while enough time is allowed to observe the interior.
Complex or persistent leaks may justify professional water testing because window, masonry and concealed wall components can all be involved.
Remove failed sealant where necessary, prepare the joint and install a compatible, properly detailed replacement.
Repoint open joints, replace damaged units and address movement around the lintel before expecting the opening to remain dry.
Selective brick removal may be required to access concealed flashing, end dams, weeps or cavity obstructions.
Correct damaged joints, slope, drip details or concealed sill flashing where those are confirmed leak paths.
Frame, glazing, drainage or installation defects may require a window contractor rather than masonry work.
Some openings require both masonry and window work so flashing, sealant, framing and drainage connect as one system.
NRC Canada research prepared through the Nova Scotia construction research community specifically identified rain penetration at window-wall joints as a major concern in Atlantic Canada.
Prince Edward Island, Nova Scotia and New Brunswick regularly combine coastal winds with prolonged rain, wet snow and freeze-thaw conditions. A joint that performs adequately in gentle rainfall may leak when wind creates pressure across the wall.
That makes good drainage, flashing and connected air/water-control layers more important than simply applying more caulk to the exterior face.
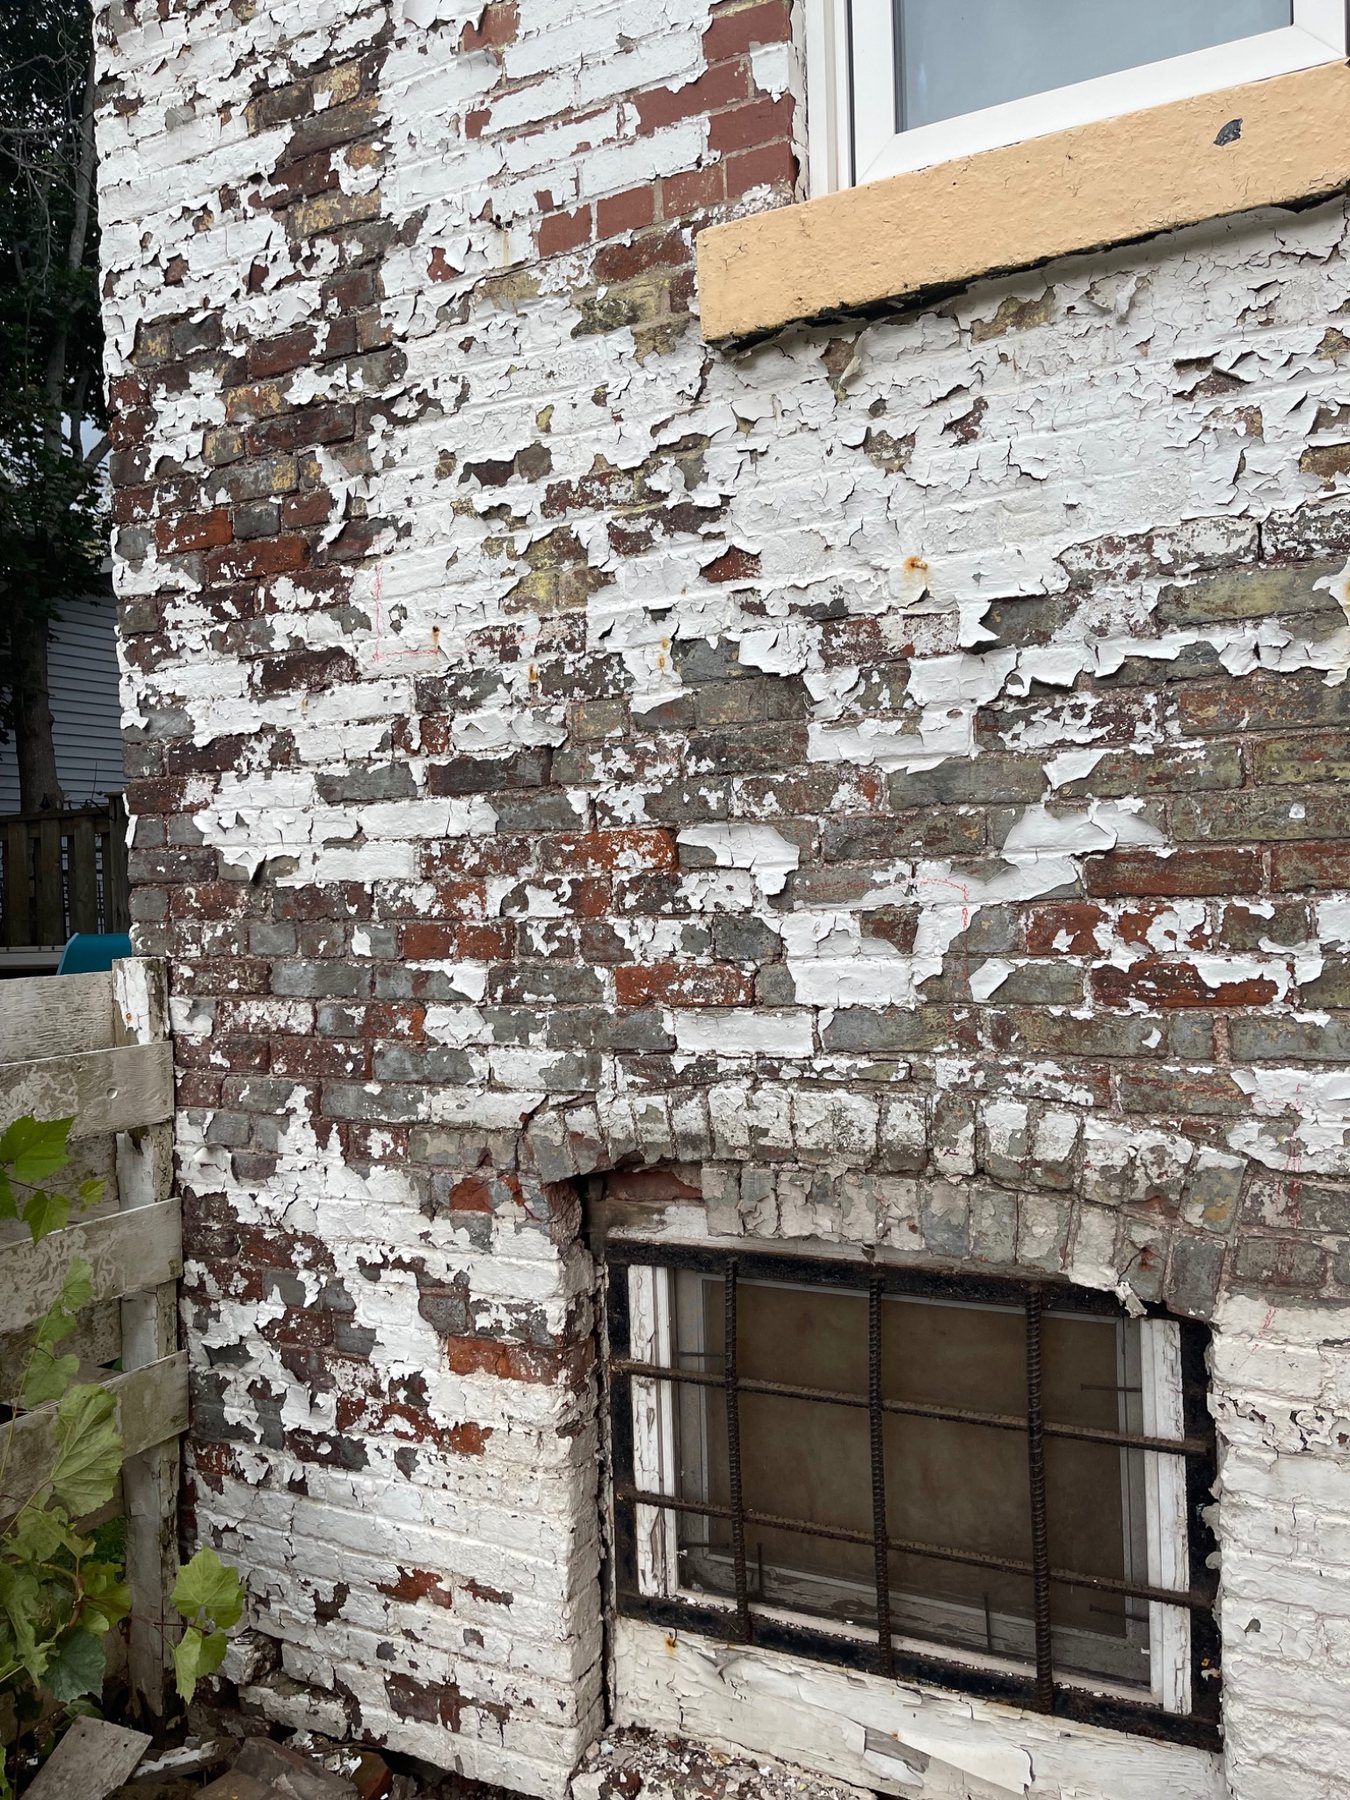
Wind changes rain behaviour. Water does not always travel straight down the face of a wall. Pressure can drive it through small defects around openings and transitions.
Include several feet of brick above, below and beside the window.
Show cracks, rust staining, weeps, visible flashing and the courses directly above the window.
Photograph perimeter sealant, gaps and where the frame meets brick or other trim.
Show slope, joints, end conditions, cracks and the bottom corners of the frame.
Include rooflines, upper windows, downspouts and other possible water sources.
Show where staining starts and ends, including trim, ceiling, jambs and the wall below the sill.
NRC Canada's Rain Penetration of the Window-Wall Joint, prepared in connection with the Nova Scotia construction research community, explains that controlling the forces that drive water through joints is central to preventing leakage and cautions against depending on exterior face-sealing as the entire rain and air-control strategy.
NRC guidance on masonry walls also emphasizes flashing, weep holes, cracking and architectural details that direct rain away from vulnerable locations.
Brick Industry Association Technical Notes 7 and 7B describe drainage-wall design, flashing and weep practices. BIA Technical Note 36 further discusses flashing at sills and openings and the importance of end conditions and drainage.
NRC Canada: Rain Penetration of the Window-Wall Joint →
NRC Canada: Rain Penetration and Masonry Wall Systems →
Brick Industry Association Technical Note 7: Water Penetration Resistance - Design →
Brick Industry Association Technical Note 7B: Construction & Workmanship →
Brick Industry Association Technical Note 36: Sills & Soffits →
Dean is a third-generation mason with more than 20 years of hands-on experience working with brick, natural stone, chimneys, foundations, repointing and masonry restoration in Prince Edward Island.
The DinoMac Masonry Knowledge Centre uses PEI field experience to explain masonry conditions that are also common across Atlantic Canada and other cold, wet climates.
Last reviewed: August 26, 2026
Possible causes include perimeter joints, flashing, blocked drainage, cracked masonry, the window assembly or water entering higher in the wall.
No. It normally relies on a drainage cavity, water-resistive layer, flashing and weeps to manage rain that passes through the outer masonry.
Only if the failed perimeter joint is the actual leak path. Caulk will not repair missing flashing, blocked drainage or cracks elsewhere.
They allow water collected on flashing inside drainage-type brick veneer to drain back to the exterior.
Yes. Frames, glazing, internal drainage and installation details can leak independently of the surrounding brick.
Water can travel along cavities, flashing, framing and finishes before it becomes visible inside.
Include exterior photos of the head, jambs and sill, several feet of brick above the window, nearby cracks or weeps, any visible flashing, and matching interior photos showing where the water appears. DinoMac can help determine whether the visible problem appears masonry-related, drainage-related or more likely part of the window system.
DinoMac found existing lintels sloping back toward the building, missing weep vents and window perimeter sealant that also needed renewal. The repair integrated the new stainless lintels with membrane and existing through-wall copper flashing to direct water outward.
See the Armoury window-opening repair →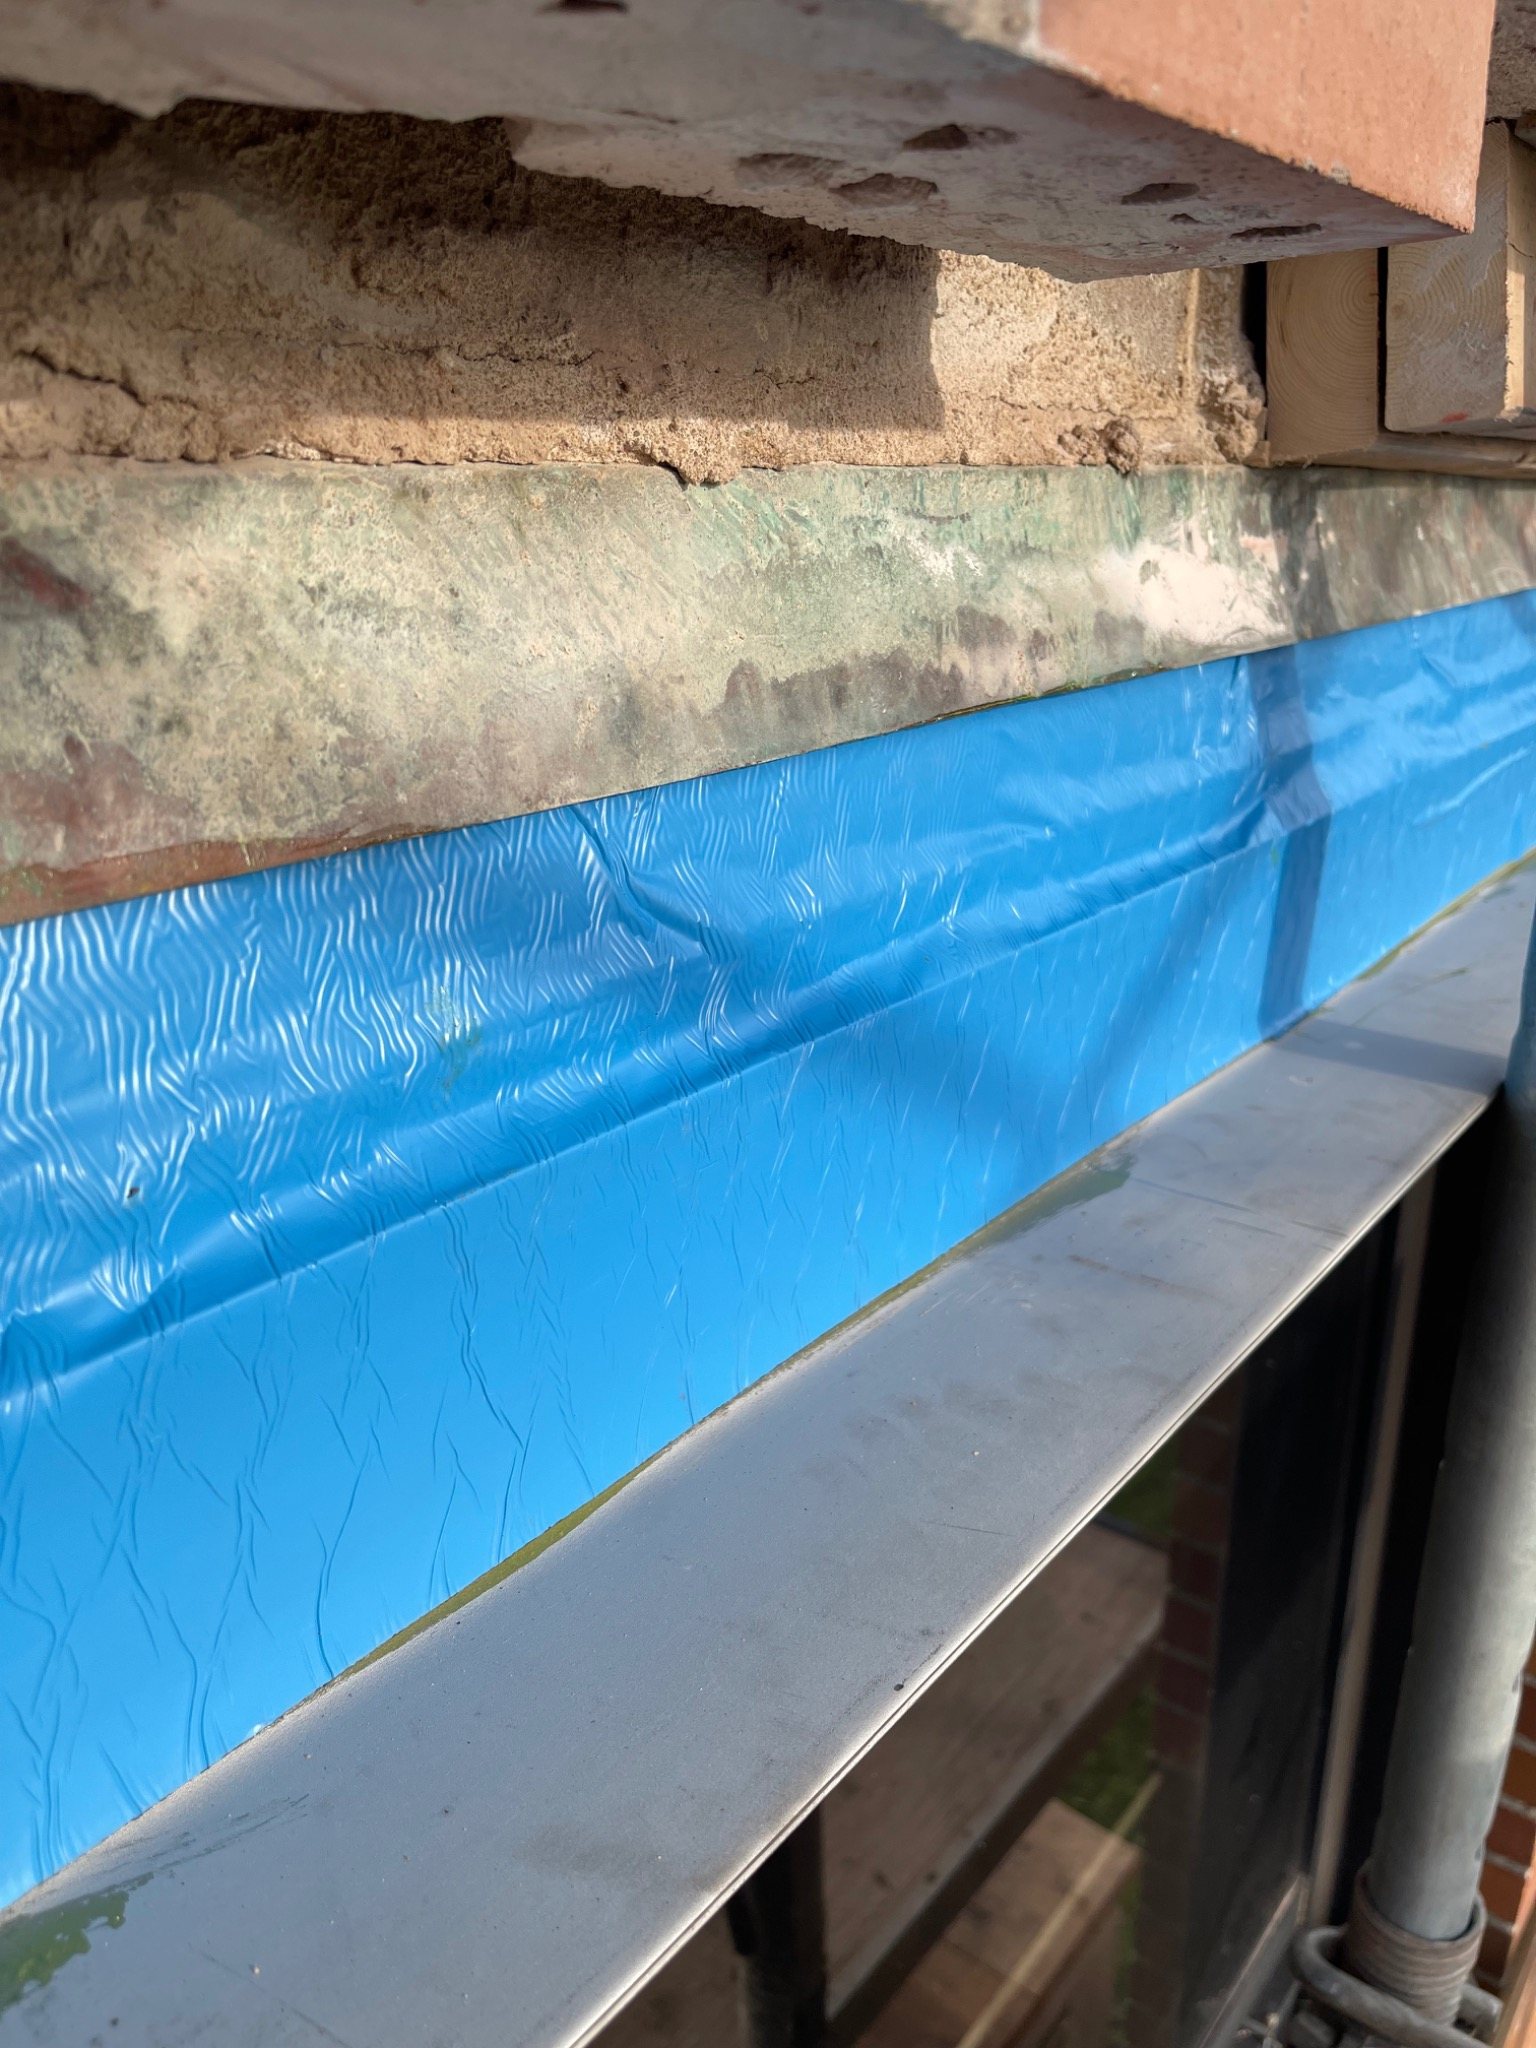
Field example: new stainless lintel, primed membrane flashing and retained through-wall copper flashing at a repaired brick opening.