Serving Prince Edward Island 902-940-6963  •  contact@dinomac.ca
Chimney Leak Diagnosis

Why Is My Chimney Leaking?

A chimney leak is not one repair. Water can enter through the crown at the top, the roof flashing at the base, a missing or damaged rain cap, cracked brick and mortar, or another nearby roof detail.

The most useful question is not simply “Where do I see water?” It is: where is water getting into the chimney or roof system in the first place? Water can travel through masonry, along framing or down the outside of a flue before appearing somewhere that makes the source look obvious.

Masonry chimney and roof flashing at a common water-entry location

Start with the whole system. A wet ceiling beside a chimney may point toward flashing, but the inspection should still consider the crown, cap, masonry and roof conditions above the stain.

Crown, flashing, cap and masonry solve different water-control problems. One repair does not substitute for the others. Leak Pattern Clues
The Four Main Suspects

Each part of a masonry chimney manages water in a different place.

Before applying sealant or rebuilding masonry, identify which part of the water-shedding system is actually failing.

1. Crown or Wash

The crown is the sloped surface across the top of the masonry around the flue. Its job is to shed water away from the top of the chimney rather than letting precipitation soak directly into the masonry below.

Cracks, poor slope, failed edges or separation around the flue can allow repeated saturation of the upper chimney.

2. Roof Flashing

Flashing manages the joint where the chimney penetrates the roof. Base flashing works with counterflashing and the roofing system to direct roof runoff around the chimney.

Open laps, lifted metal, failed counterflashing, roofing defects or poorly executed previous repairs can allow water into the roof assembly.

3. Rain Cap

A rain cap sits over the flue opening. It helps reduce direct rain, snow, debris and animal entry while still allowing the chimney to vent.

A missing or damaged cap can allow precipitation directly into the flue, but replacing the cap will not fix failed flashing or cracked masonry.

4. Brick, Stone & Mortar

Masonry can absorb moisture. Open joints, cracks, spalled brick, loose units and repeated saturation can create paths for water into and through the chimney mass.

If the upper chimney is deteriorated, the visible leak may be the result of years of water exposure rather than one isolated hole.

Crown or Wash

A cracked chimney top can feed water into the masonry from above.

The top of a masonry chimney receives direct rain, snow, sun and freeze-thaw exposure. A sound crown or wash should shed water outward instead of holding it against the flues and masonry.

When the crown is cracked, deteriorated or poorly shaped, water can enter the top of the stack and migrate into mortar joints, brick and spaces around the flue liner. That moisture may later appear lower down as staining, efflorescence, damaged mortar or interior dampness.

Repairing joints below a failed crown without addressing the top can leave the main water source in place.

See where the crown fits into the chimney system →
Masonry chimney crown and cap showing the top water-shedding components

Crown versus cap: The crown covers the top of the masonry. The rain cap covers the flue opening. They perform different jobs and either can need attention independently.

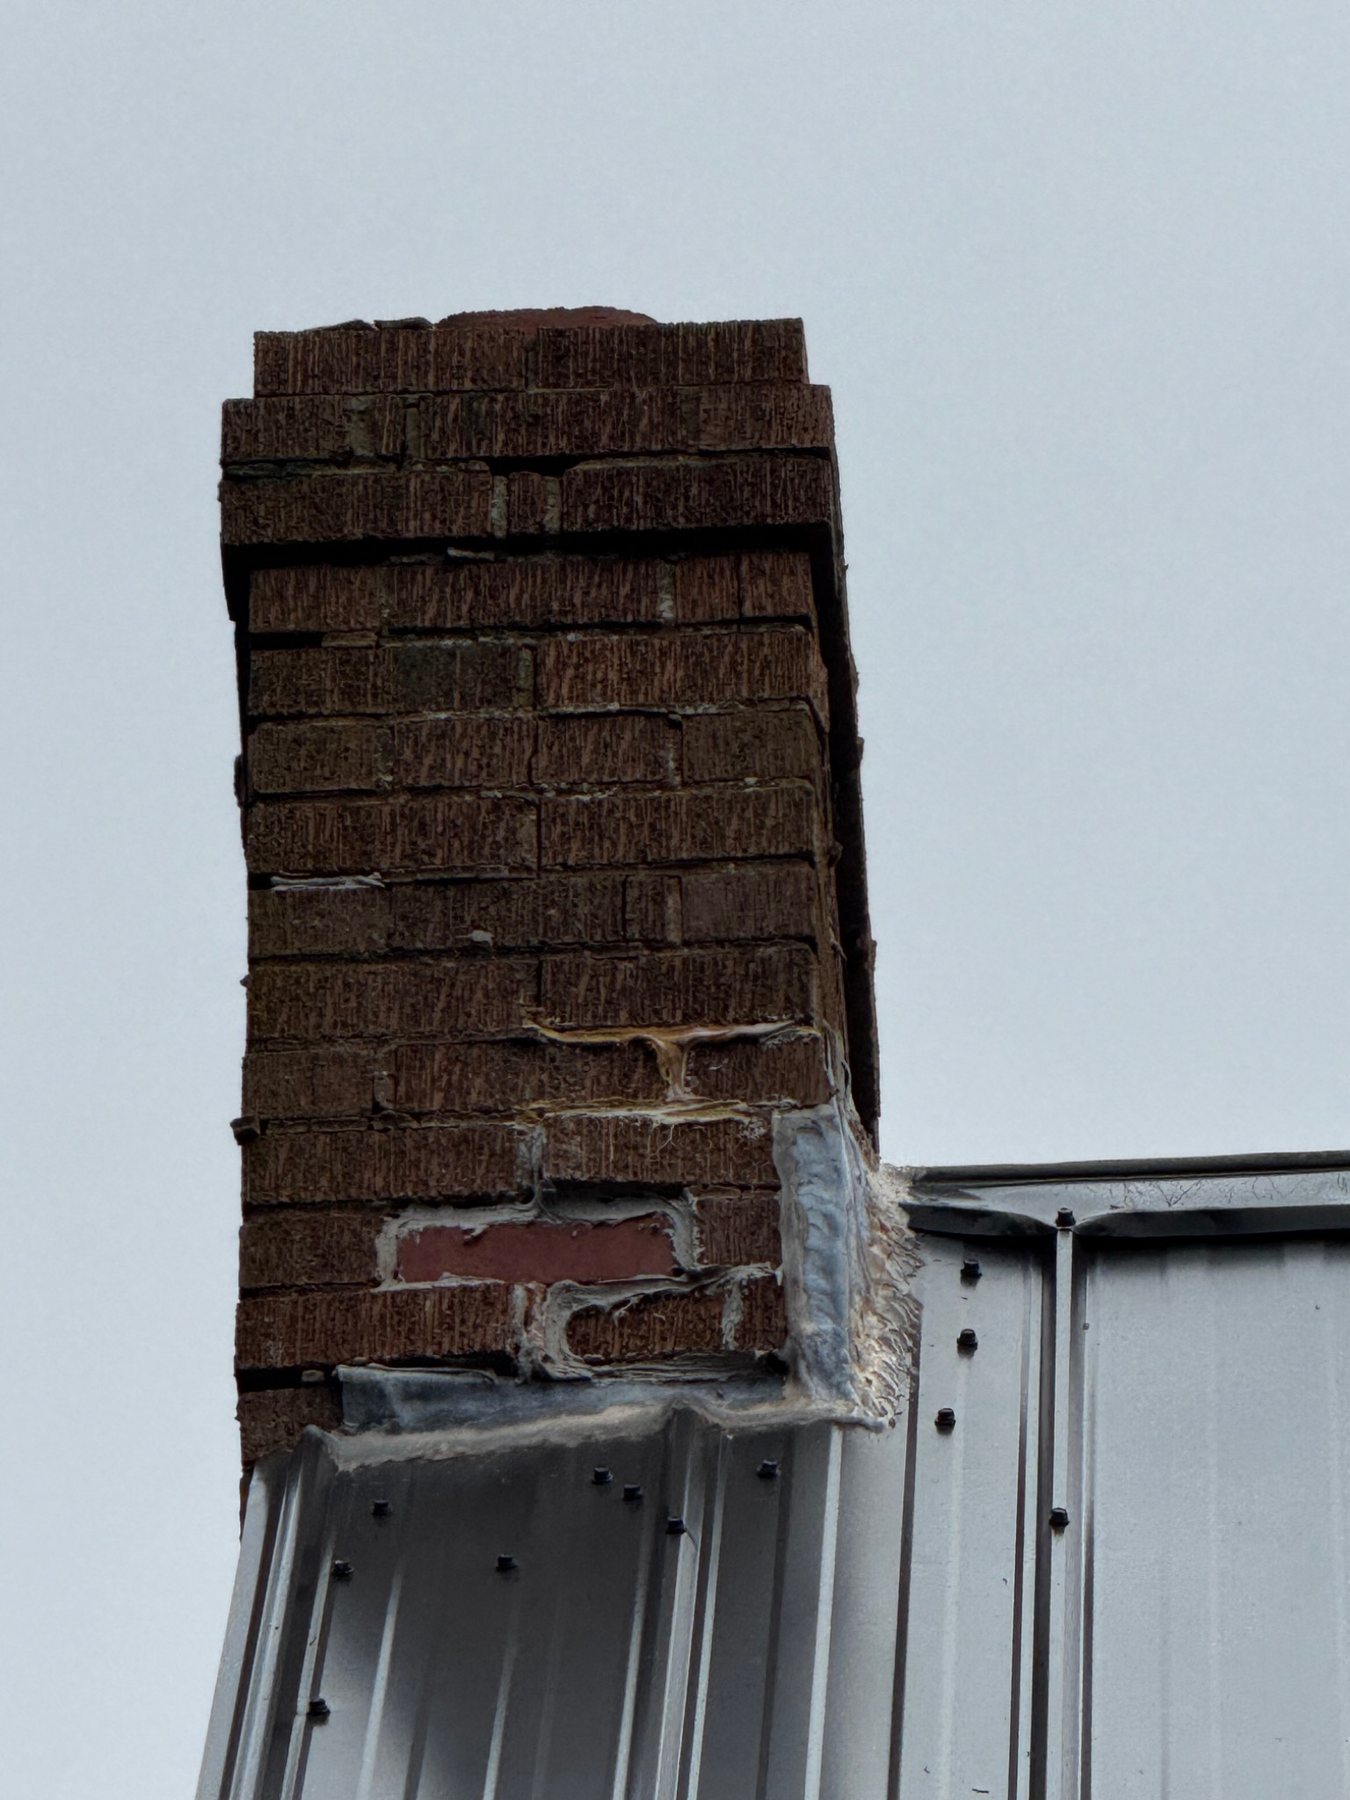
Chimney flashing and roof intersection where rainwater must be directed around masonry

Flashing is a system, not a bead of caulk. The roof covering, base flashing, counterflashing and surrounding drainage pattern have to work together.

Roof Flashing

If the leak appears beside the chimney, inspect the roof intersection carefully.

Roof water moves downhill and concentrates around penetrations. The chimney interrupts that drainage plane, so properly integrated flashing is essential.

A flashing-related leak may show as damp roof sheathing in the attic, staining on a ceiling beside the chimney, or water appearing during wind-driven rain and snowmelt.

Surface sealants sometimes have a legitimate maintenance role at selected joints, but smearing roof cement or silicone over an unclear flashing detail can hide the problem without rebuilding a durable drainage path.

Rain Cap

A missing cap can let water down the flue, but a cap cannot waterproof the chimney.

The flue opening is directly exposed to the sky. A properly selected rain cap reduces direct precipitation entry while allowing the venting system to operate.

When the cap is missing, damaged or poorly fitted, rain can enter the flue and show up at the smoke chamber, damper, clean-out or appliance connection.

That pattern makes the cap worth checking, but the presence of a cap does not rule out crown, flashing or masonry leakage.

If the chimney serves a solid-fuel appliance, cap selection and venting conditions should also remain compatible with the appliance and chimney system.

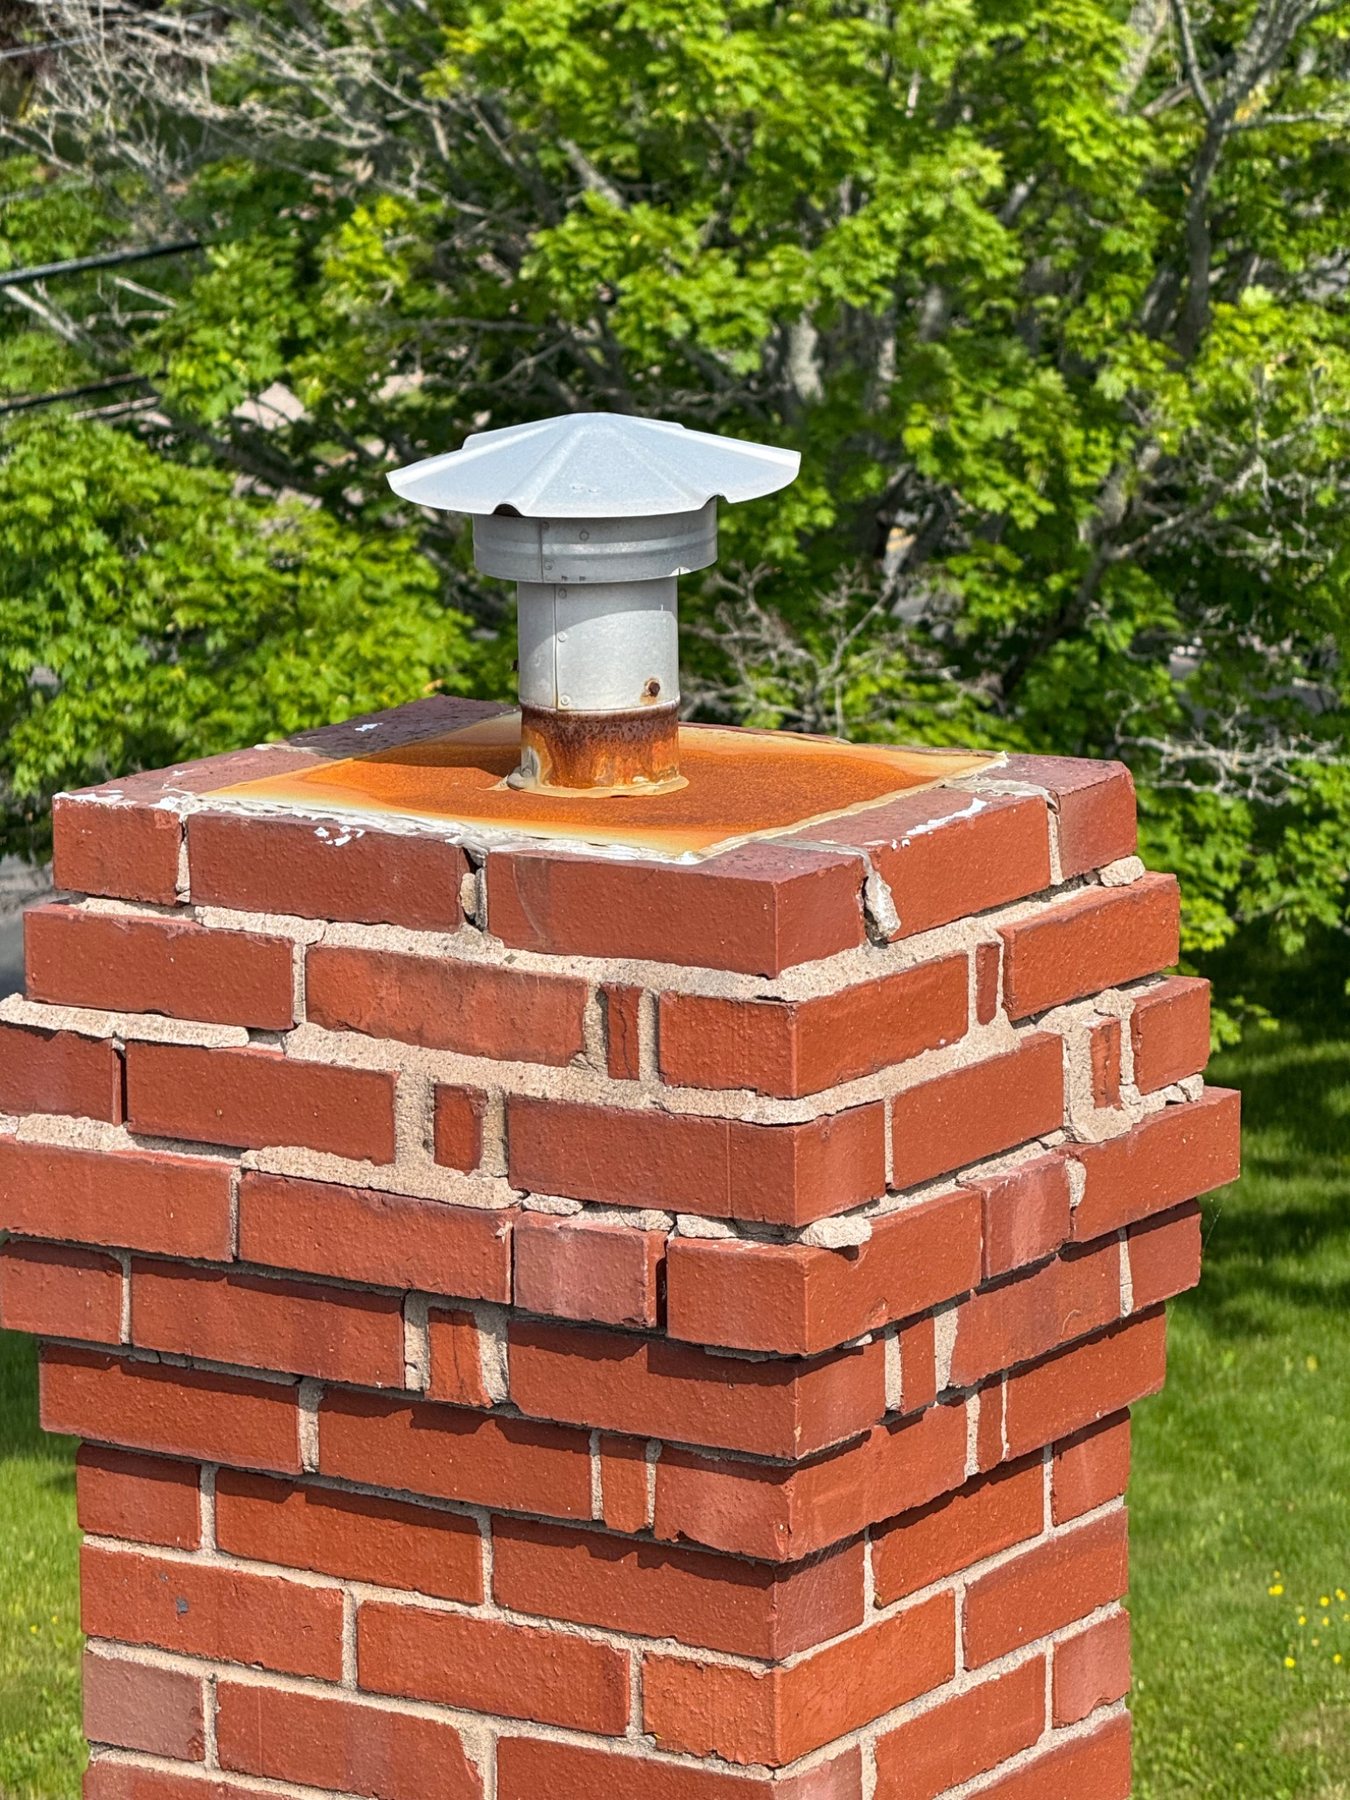
Chimney top and flue area showing weather exposure at the upper termination

Look at the termination as a whole. Flue condition, crown, cap and upper masonry are all exposed to the same weather but fail in different ways.

Brick, Stone & Mortar

Sometimes the chimney itself has become the water-entry surface.

Brick and mortar are not intended to function like a sheet of metal. They can absorb and release moisture. That normally does not mean water should be pouring into the building, but deterioration can change how the chimney behaves.

Open mortar joints, cracks, failed previous patches, spalled brick and saturated upper masonry can increase penetration. Wind-driven rain is especially revealing because it forces water against vertical surfaces rather than simply dropping it onto the top.

White salts, dark damp areas and surface deterioration are clues that water has been moving through the masonry, but they do not identify the entry point by themselves.

Read the masonry water-damage guide →
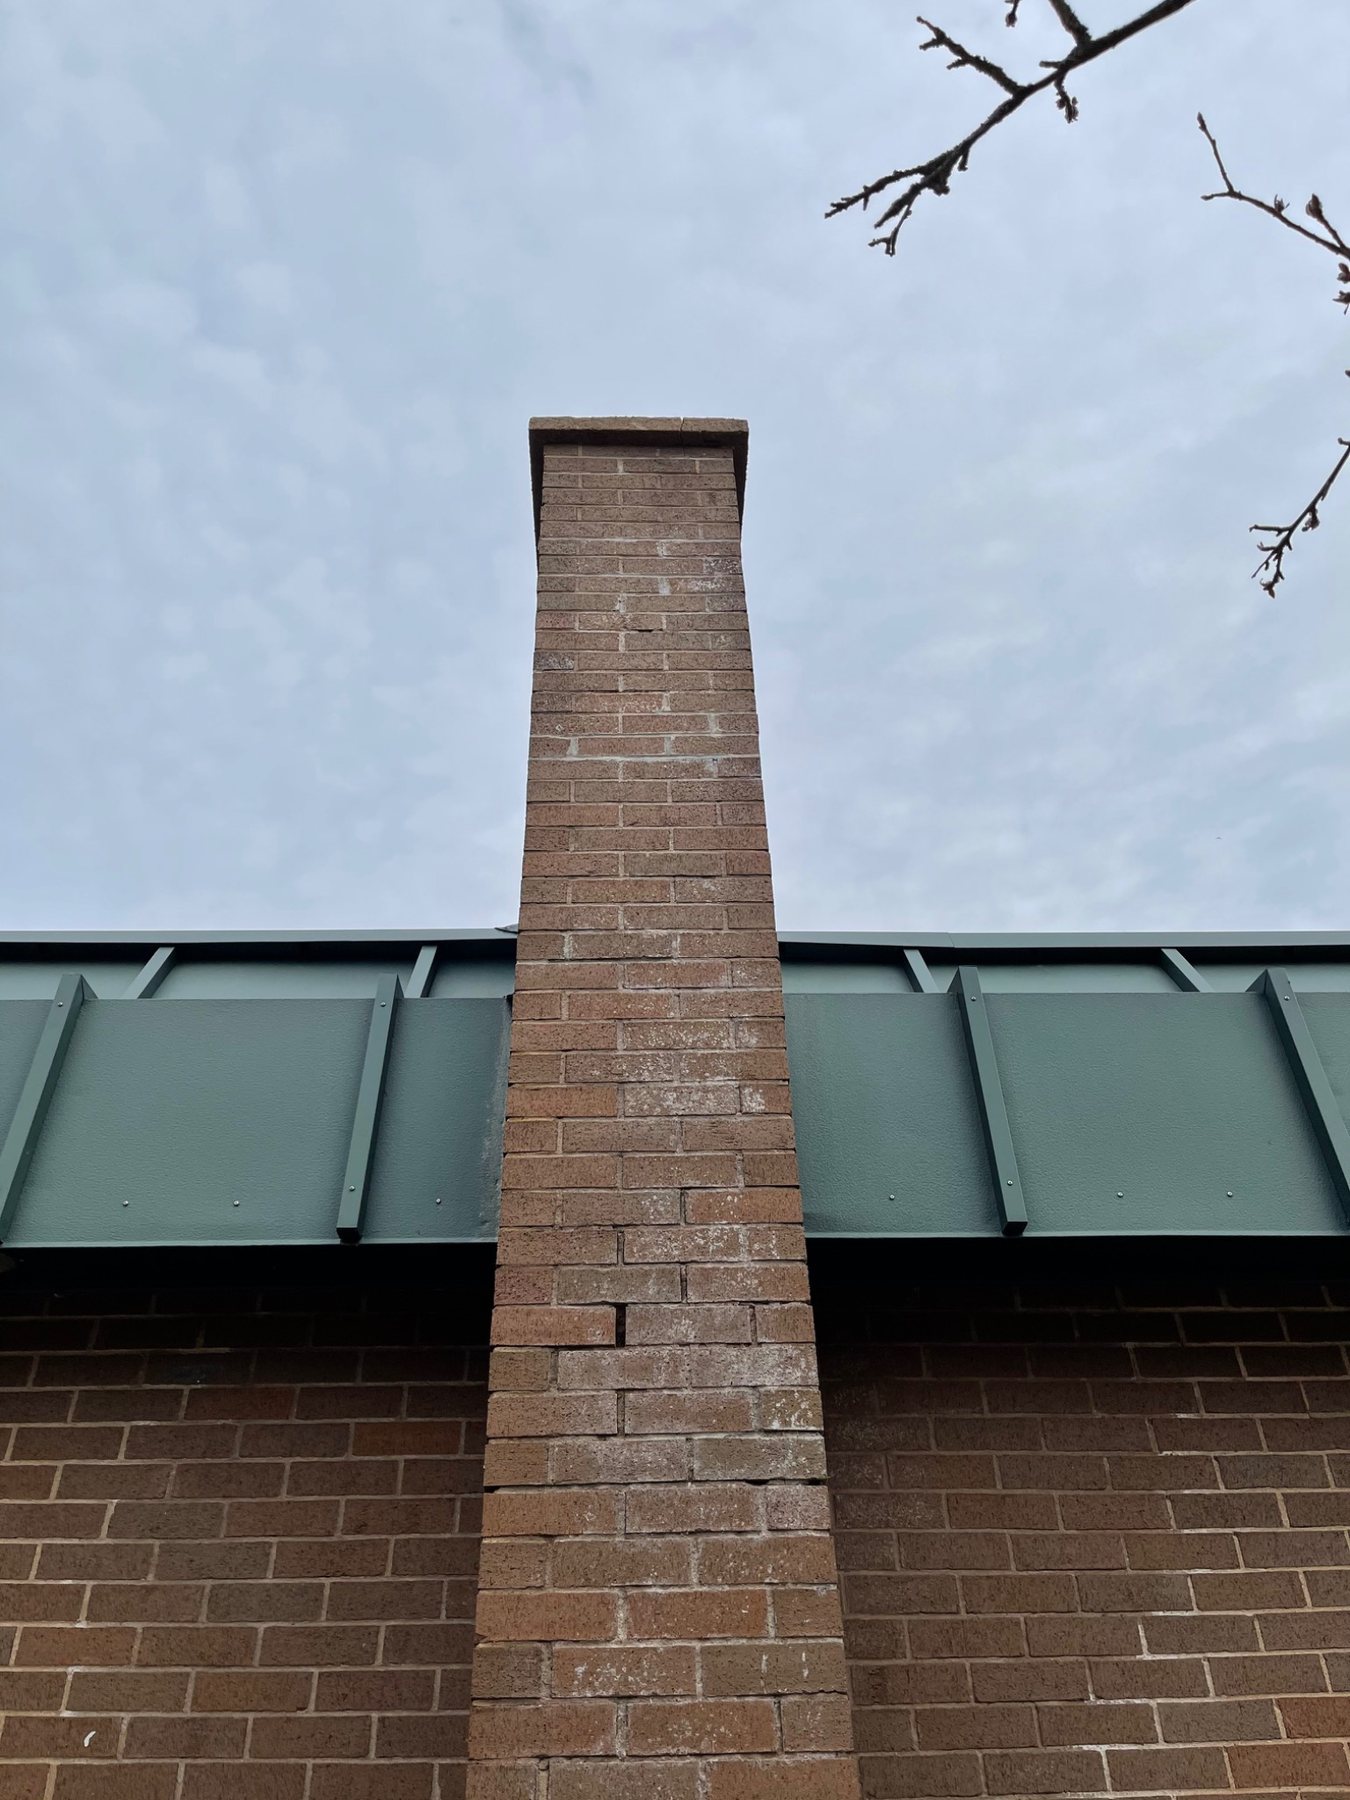
Chimney with efflorescence and mortar deterioration associated with moisture movement

Efflorescence is a clue, not a diagnosis. It shows that moisture has dissolved and carried salts, but the water may have entered through the crown, joints, flashing or another exposed detail.

Leak Pattern Clues

Where and when the water appears can narrow the investigation.

These patterns are clues, not guaranteed diagnoses. Water can travel before it becomes visible.

Water in the firebox or flue after straight-down rain

Check the rain cap and top termination first, while still inspecting the crown and upper masonry.

Ceiling or attic staining beside the chimney

The roof-to-chimney flashing, roofing and drainage path deserve close attention. Water may also be travelling from higher on the chimney.

Wet chimney face after wind-driven rain

Deteriorated joints, cracks, porous or damaged masonry and crown runoff can all contribute to saturation of the stack.

Leak appears mainly during snowmelt

Look at flashing, roof drainage, snow accumulation and top-of-chimney deterioration rather than assuming there is one simple penetration.

White salts or dampness below the crown

Water may be entering at the top and migrating down through the masonry before evaporating at the surface.

Leak persists after a new cap was installed

The original problem may never have been the cap. Reassess crown, flashing, masonry and nearby roofing.

Why Leak Diagnosis Can Be Misleading

Water does not always travel straight down from the defect to the stain.

A chimney passes through multiple building layers. Water can enter at the top, move through masonry, follow a flue, travel along roof sheathing or framing, and finally become visible some distance from the original entry point.

That is why a ceiling stain touching the chimney does not prove the flashing is the only problem, just as water in a fireplace does not prove the cap is the only problem.

Good diagnosis follows the water path from the most exposed details toward the visible symptom and checks whether more than one failure is present.

Useful questions during inspection

1Does it leak during every rain or mainly wind-driven rain?
2Does snowmelt trigger it?
3Is the water in the flue, beside the chimney or both?
4Are salts, spalling or open joints visible outside?
5Has flashing, roofing, cap or crown work been done before?
What Usually Does Not Solve the Problem

Covering the symptom is different from rebuilding the water-shedding detail.

×Smearing mortar over deteriorated joints without removing failed material
×Applying roof tar over flashing without understanding how the metal is integrated
×Installing a rain cap and assuming every chimney leak is solved
×Coating deteriorated brick before fixing crown, flashing or open joints
×Sealing visible interior stains while exterior water entry continues

Some sealants and water-repellent treatments are useful when chosen for the correct detail and compatible substrate. They should support a sound repair, not substitute for one.

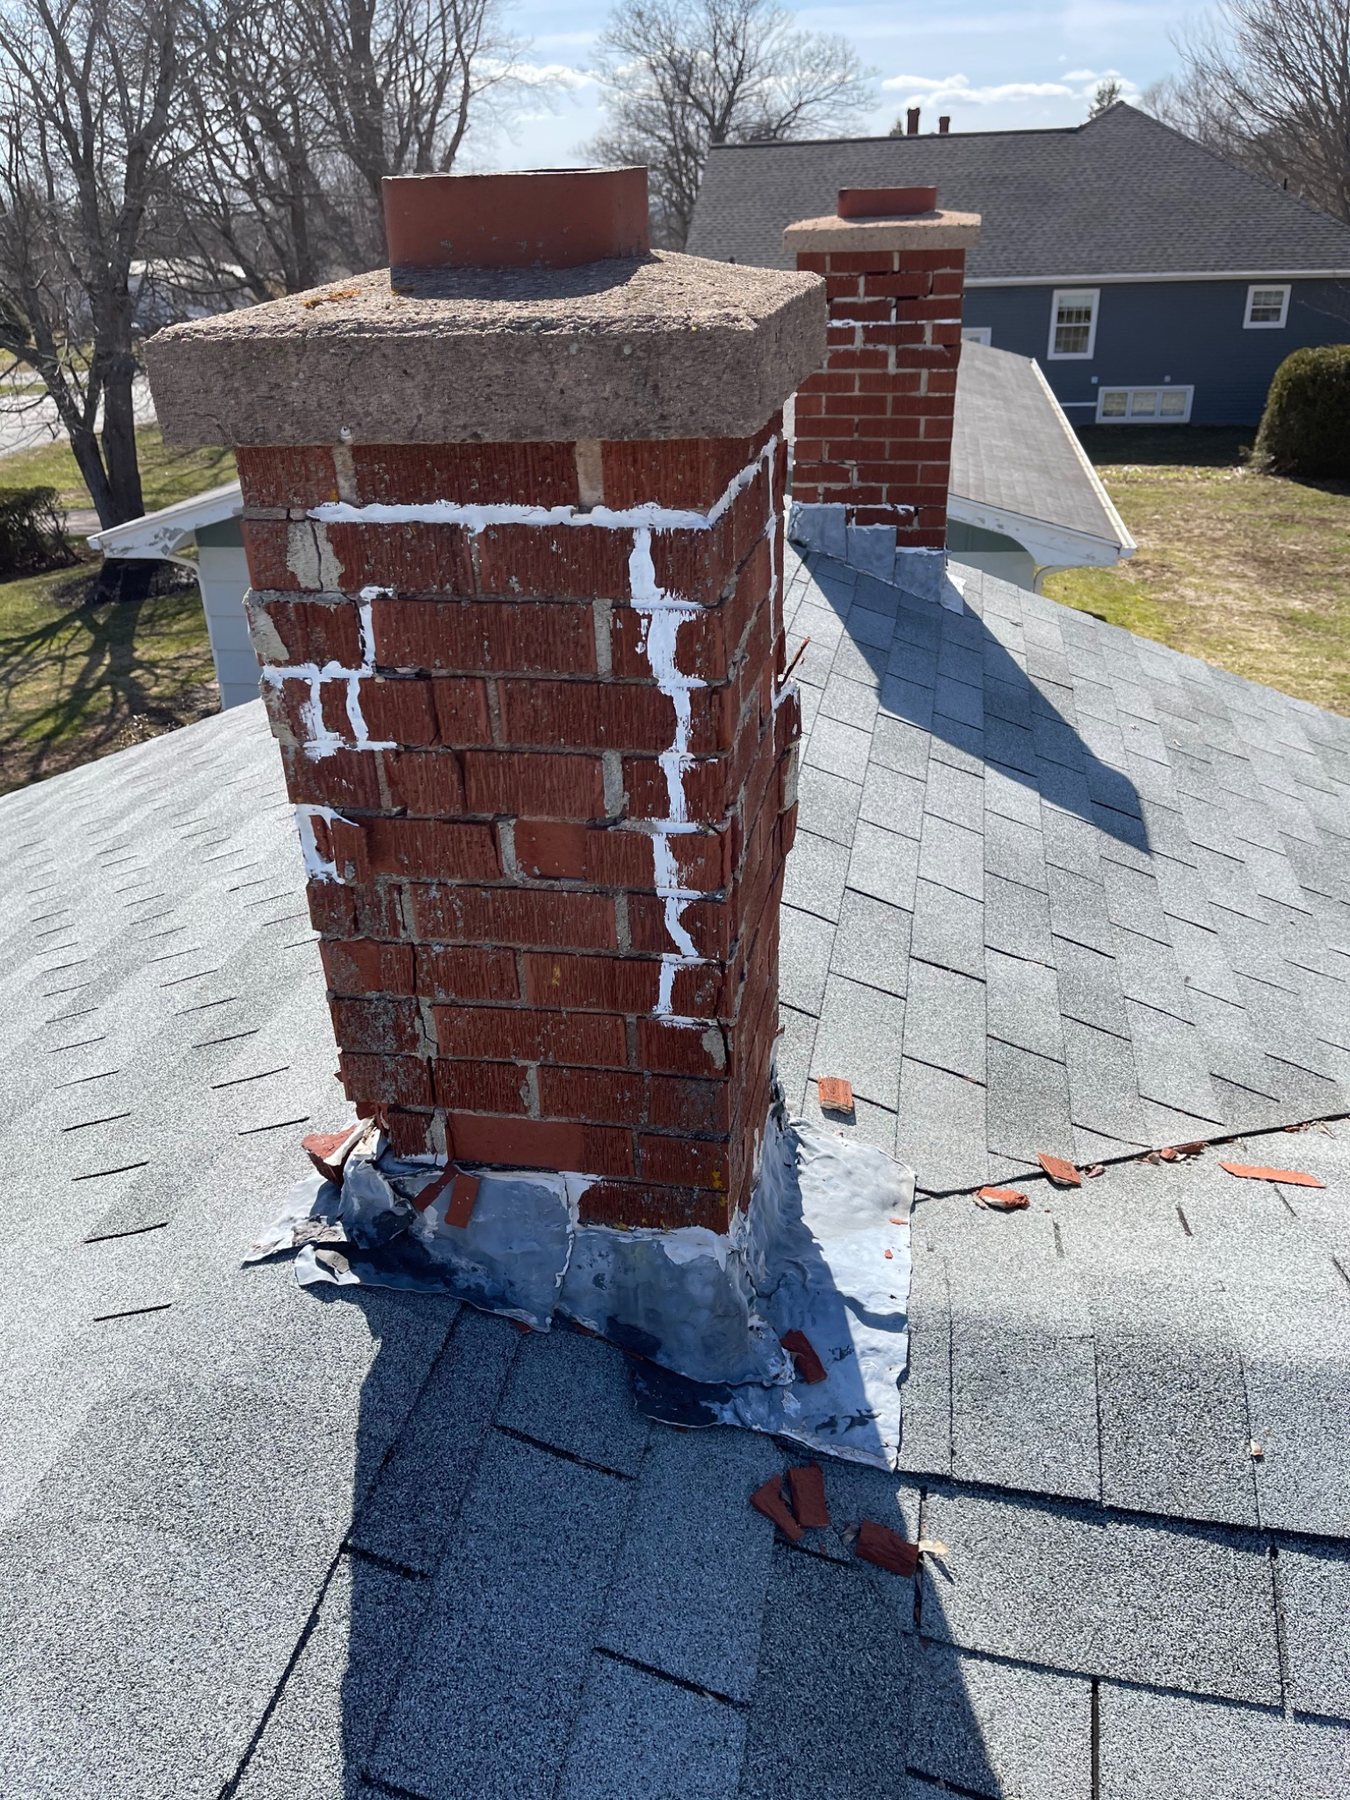
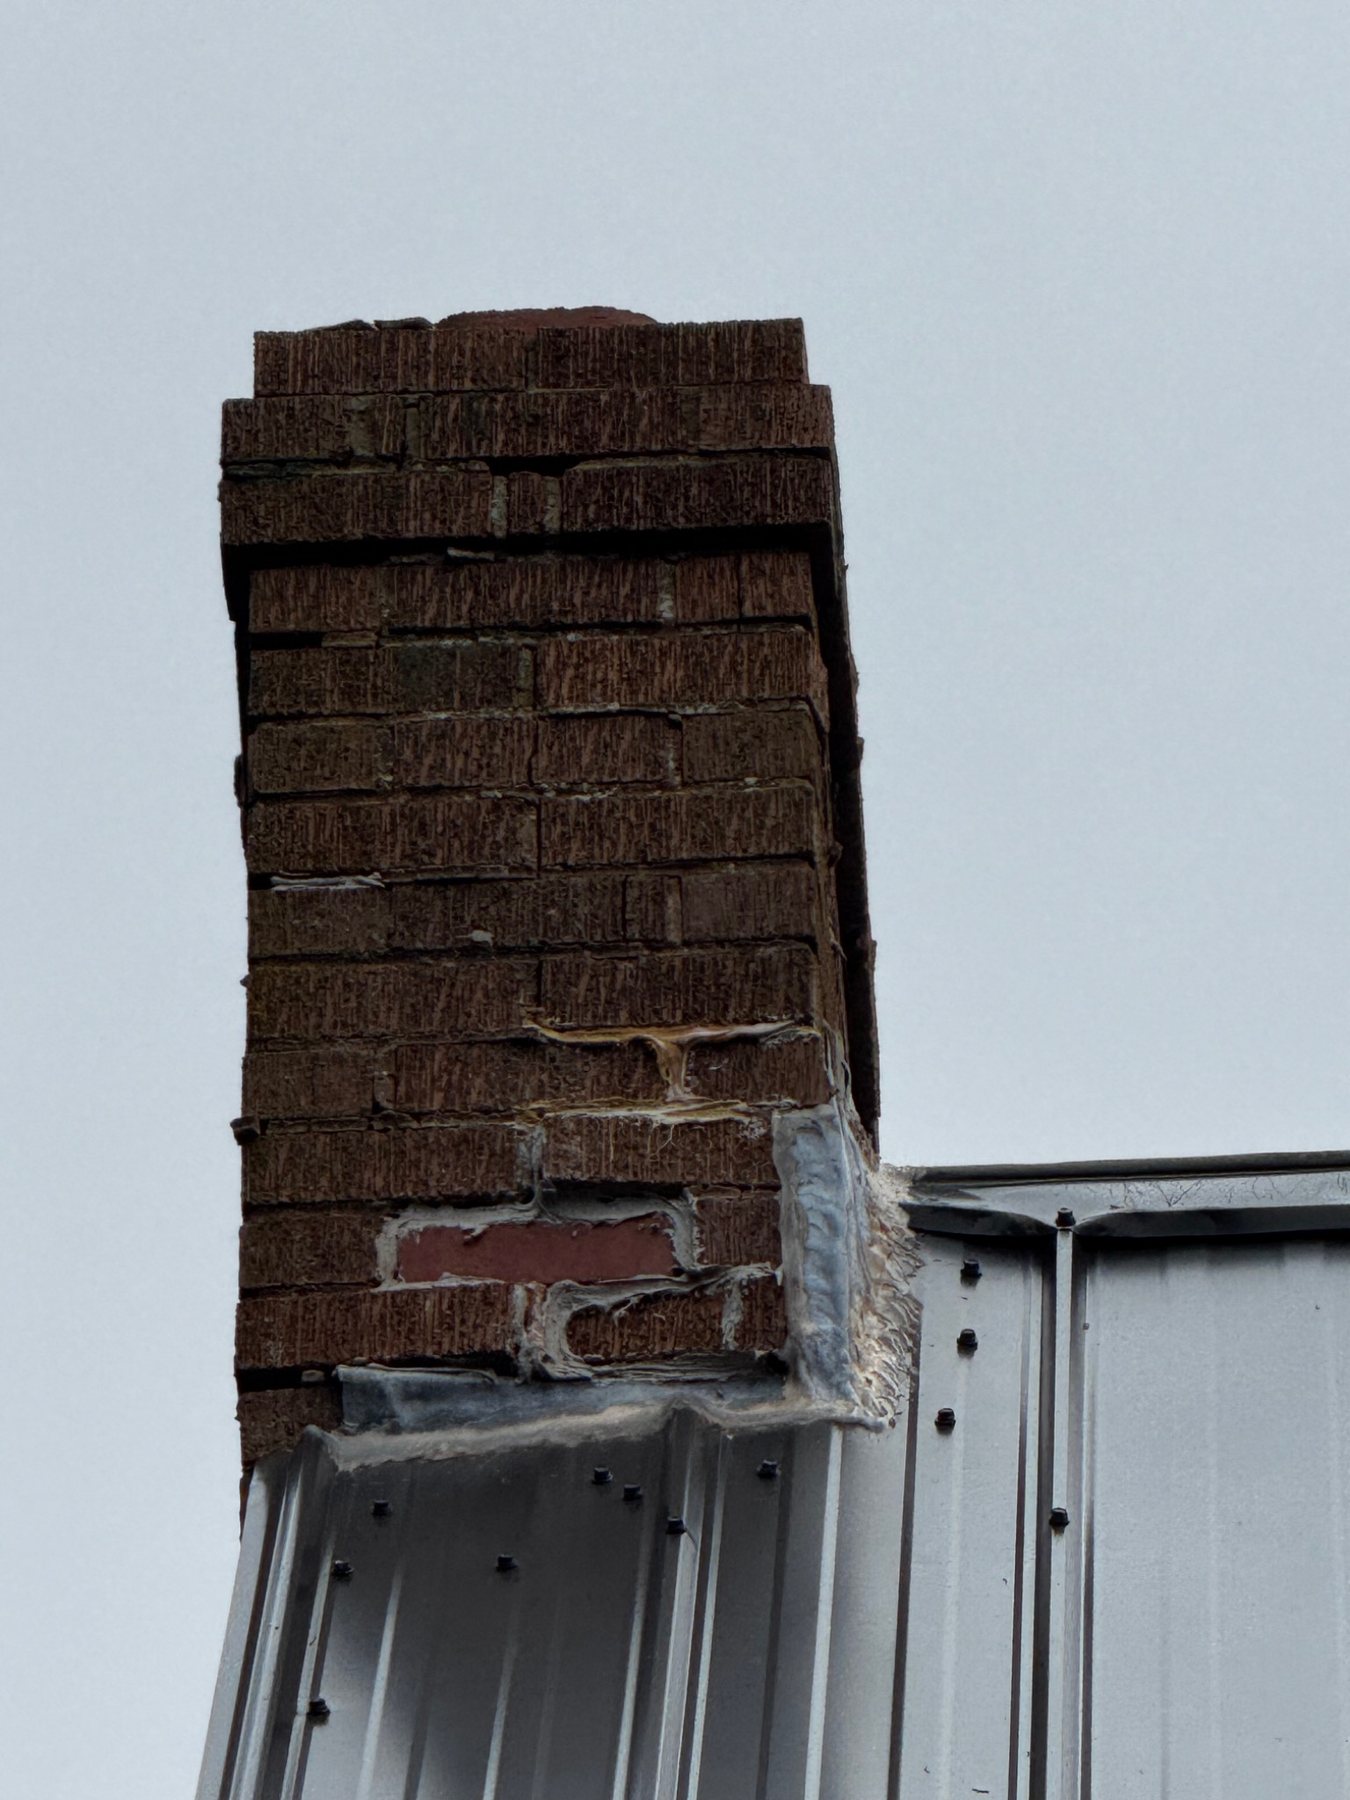
Previously patched masonry chimney showing why surface patching may not address the water source

Previous patching is part of the diagnosis. Repeated repairs in the same area can indicate that the moisture source or movement was never corrected.

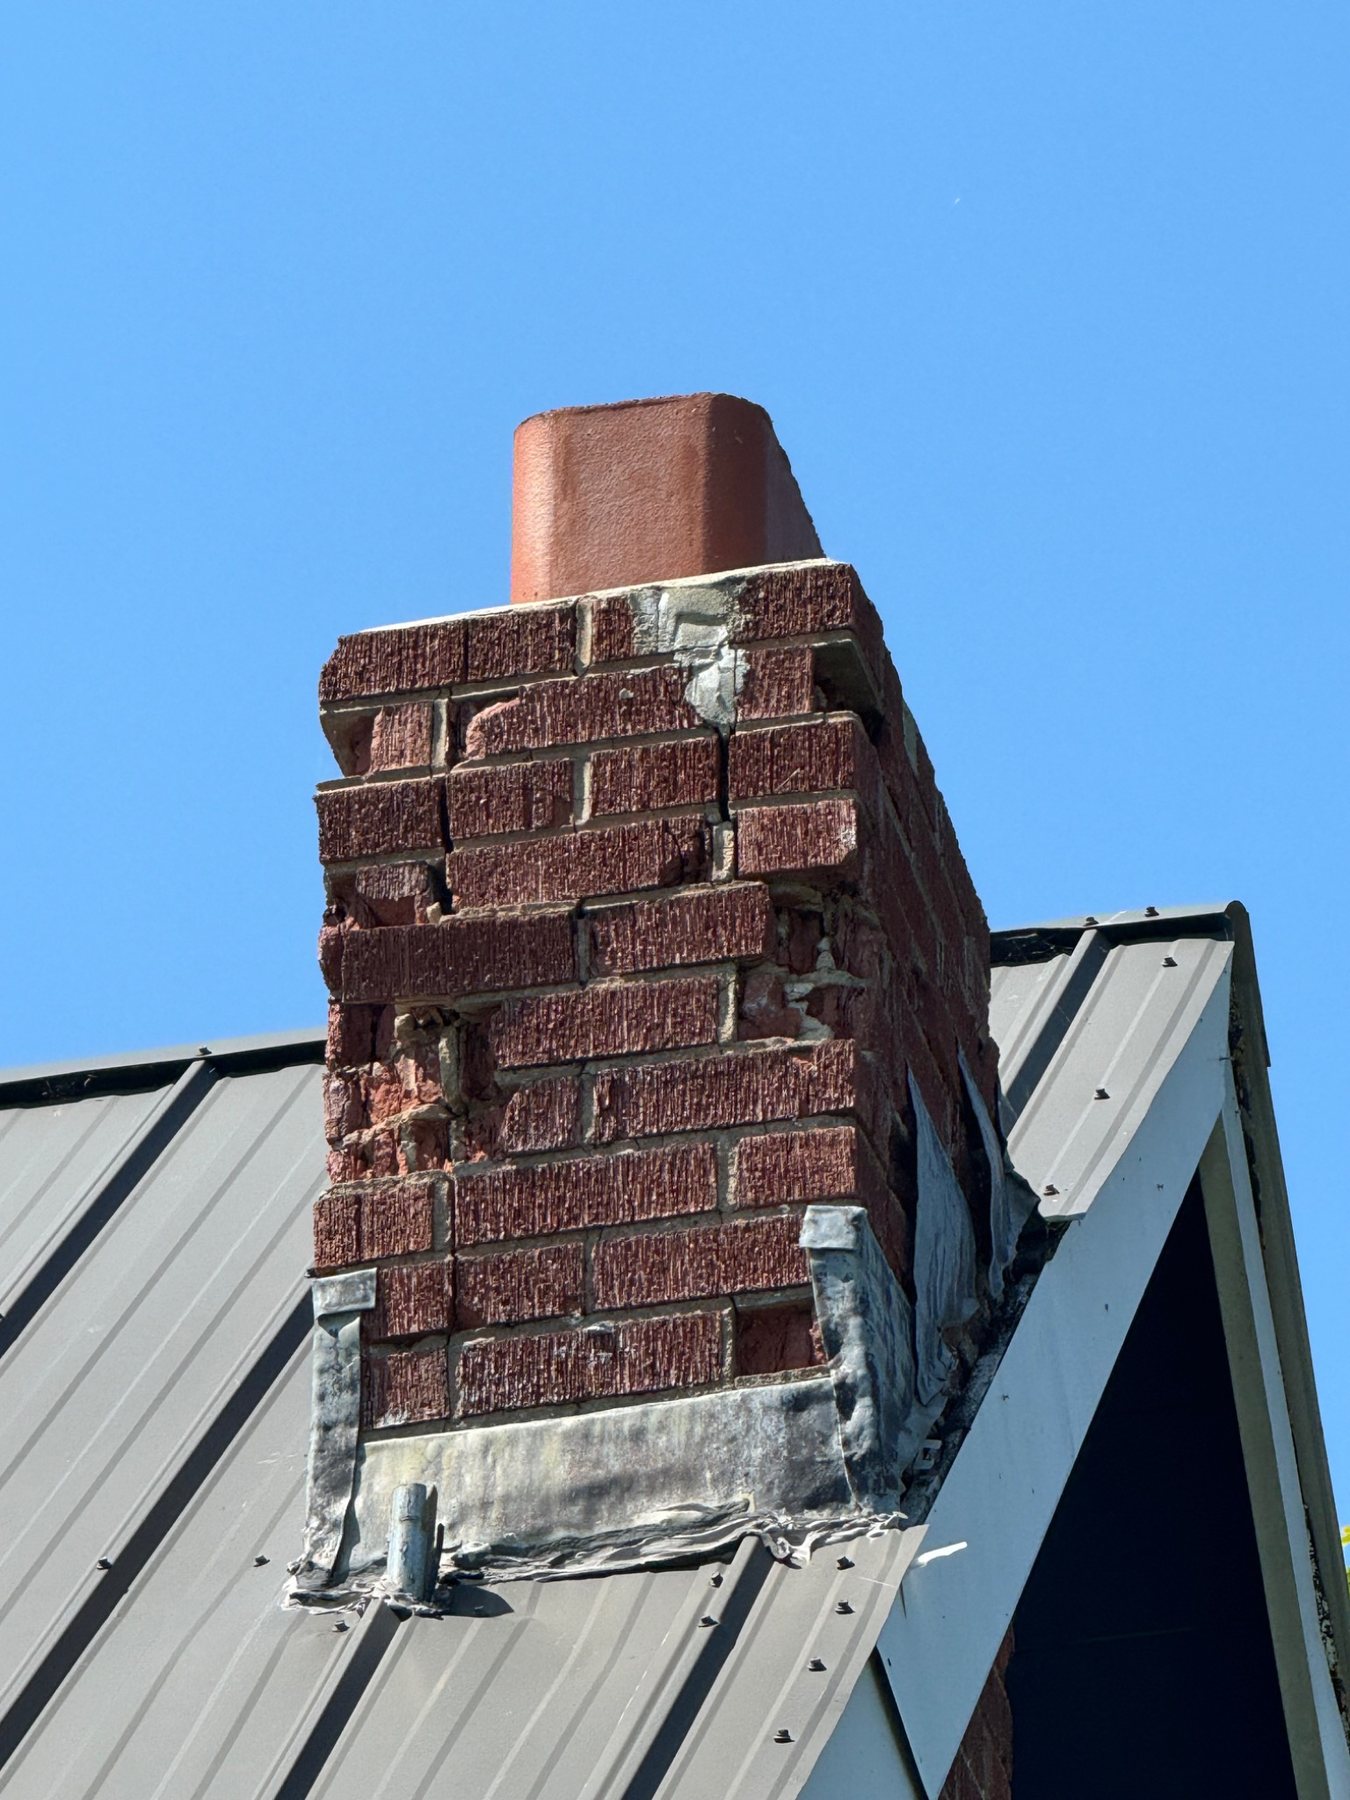
Deteriorated masonry chimney stack affected by moisture and weather exposure

Repair scope matters. Once brick has fractured, courses have moved or masonry has lost stability, stopping the leak may also require rebuilding damaged sections rather than only sealing joints.

Leak Repair vs Masonry Repair

Stopping the water and repairing the damage may be two separate parts of the job.

If moisture has been entering for years, correcting the crown or flashing may stop future wetting but leave deteriorated brick and mortar that still needs repair.

Repointing can restore failed joints when the masonry units remain stable. Damaged bricks can sometimes be selectively replaced. A chimney with displaced courses, extensive unit failure or loss of alignment may require partial or complete rebuilding.

The repair sequence should address the water source and then restore the damaged masonry to an appropriate condition.

Repoint or rebuild? Read the chimney repair guide →
Solid-Fuel Chimneys

A masonry leak can also become a venting-system inspection issue.

Water entering a chimney can affect more than the exterior brick. Depending on the construction, moisture may reach clay liners, metal components, dampers, clean-outs or appliance connections.

If a chimney serving a wood-burning appliance has significant water entry, visible liner damage, unusual debris, corrosion or an uncertain internal condition, the venting system should be assessed before continued use.

In Canada, WETT's SITE inspection process distinguishes between visual, technical and invasive inspections based on the level of access required. WETT certification applies to the individual performing the solid-fuel inspection, not automatically to a masonry contractor.

Masonry assessment and WETT inspection are different jobs

A mason may assess crown, brick, mortar and structural masonry condition. A WETT-certified professional assesses the solid-fuel appliance and venting system within the scope of the requested inspection.

On some chimney problems, both types of assessment are useful.

Atlantic Canada Context

Wind-driven rain plus freeze-thaw exposure makes chimney water control especially important.

Chimneys are among the most exposed masonry on a building. Across Prince Edward Island, Nova Scotia and New Brunswick, they can receive strong wind-driven rain, wet snow, rapid temperature changes and repeated winter freezing and thawing.

NRC Canada has specifically noted the direct influence of weather on masonry performance in the Atlantic Provinces. NRC guidance also emphasizes water-shedding details such as flashing, caps and other features that prevent concentrated wetting of masonry.

The regional lesson is simple: stopping the water matters before winter turns repeated saturation into accelerated masonry deterioration.

Read the freeze-thaw masonry guide →
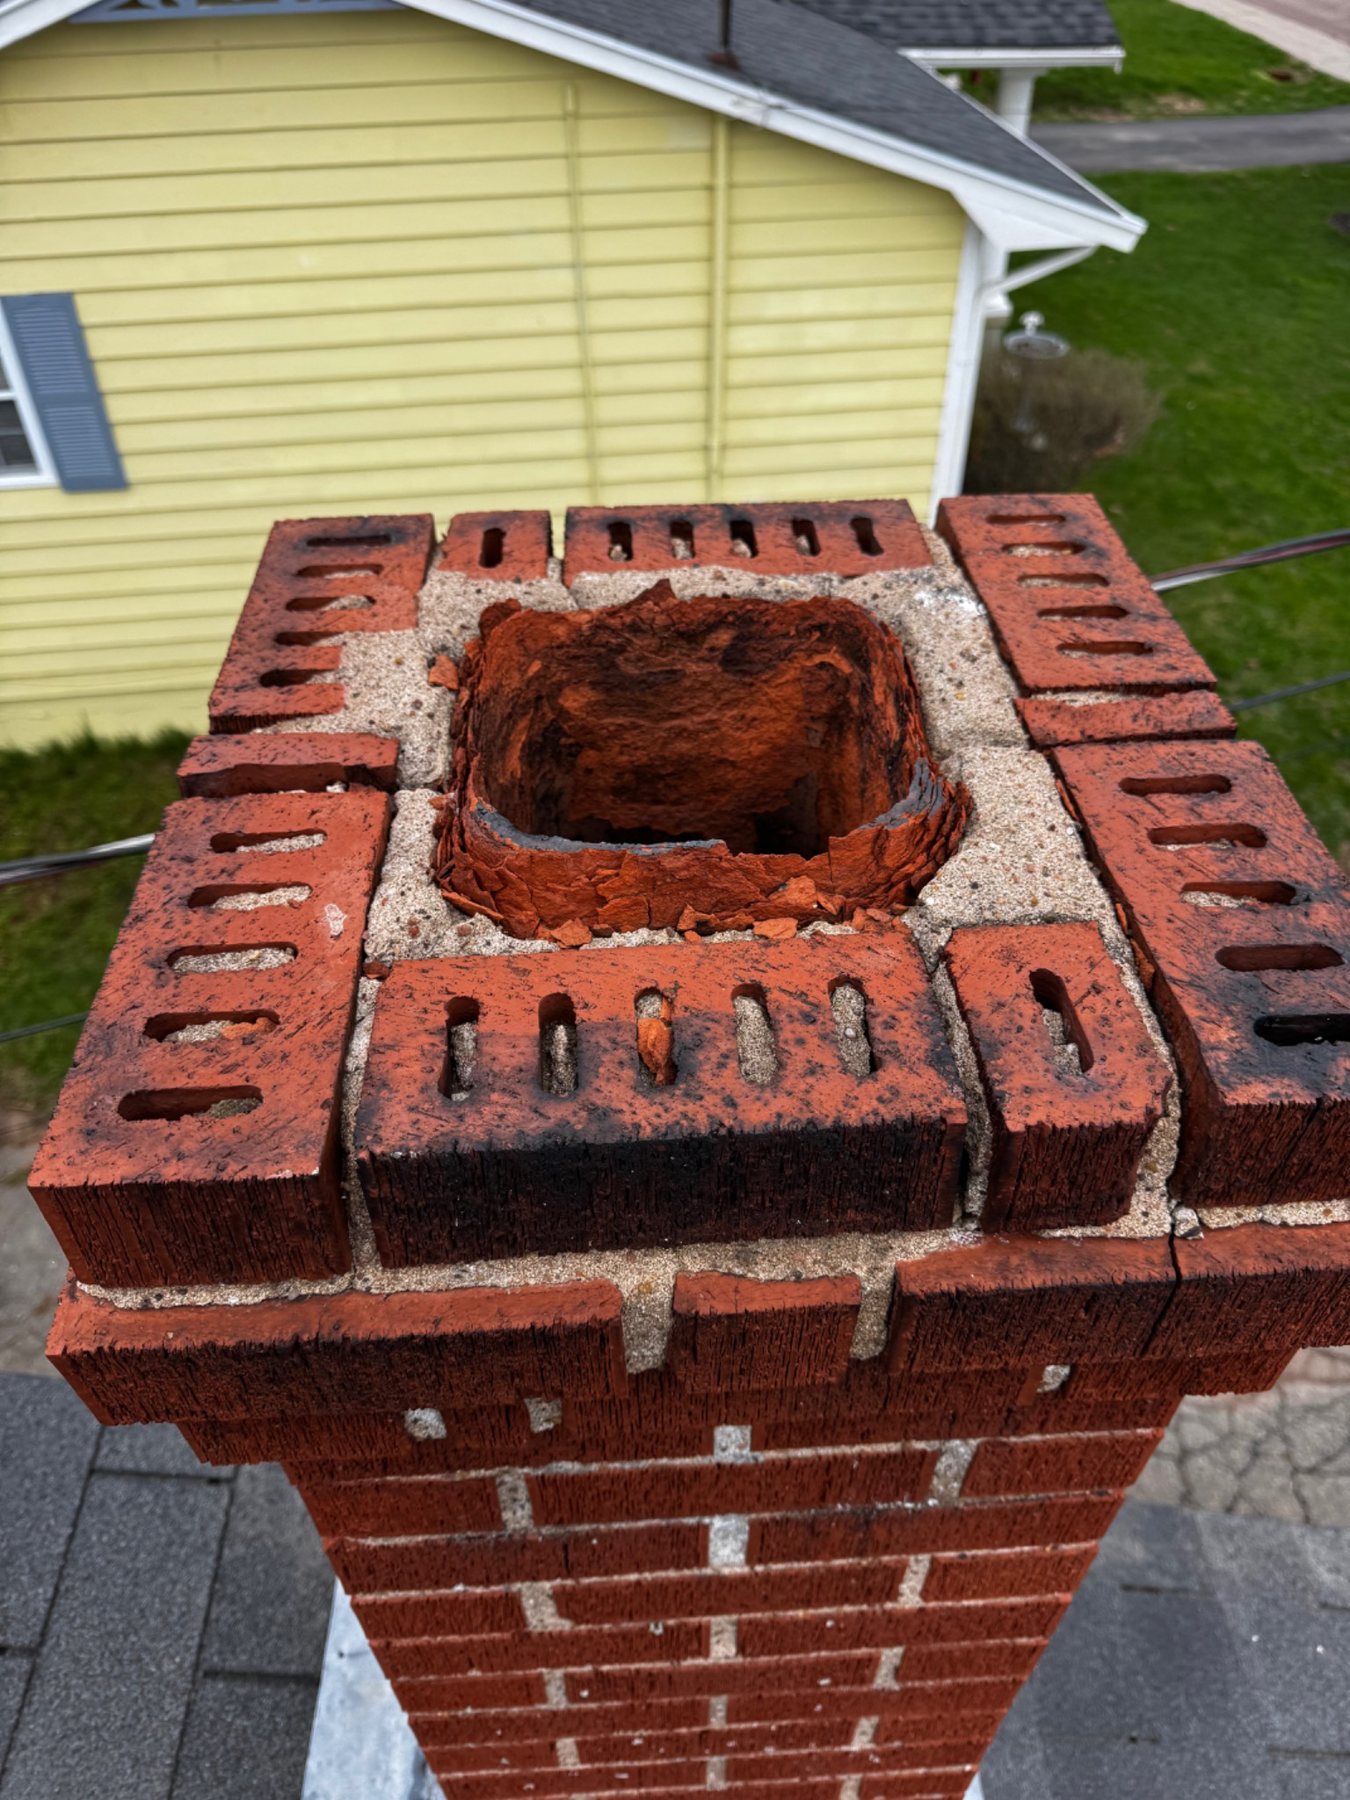
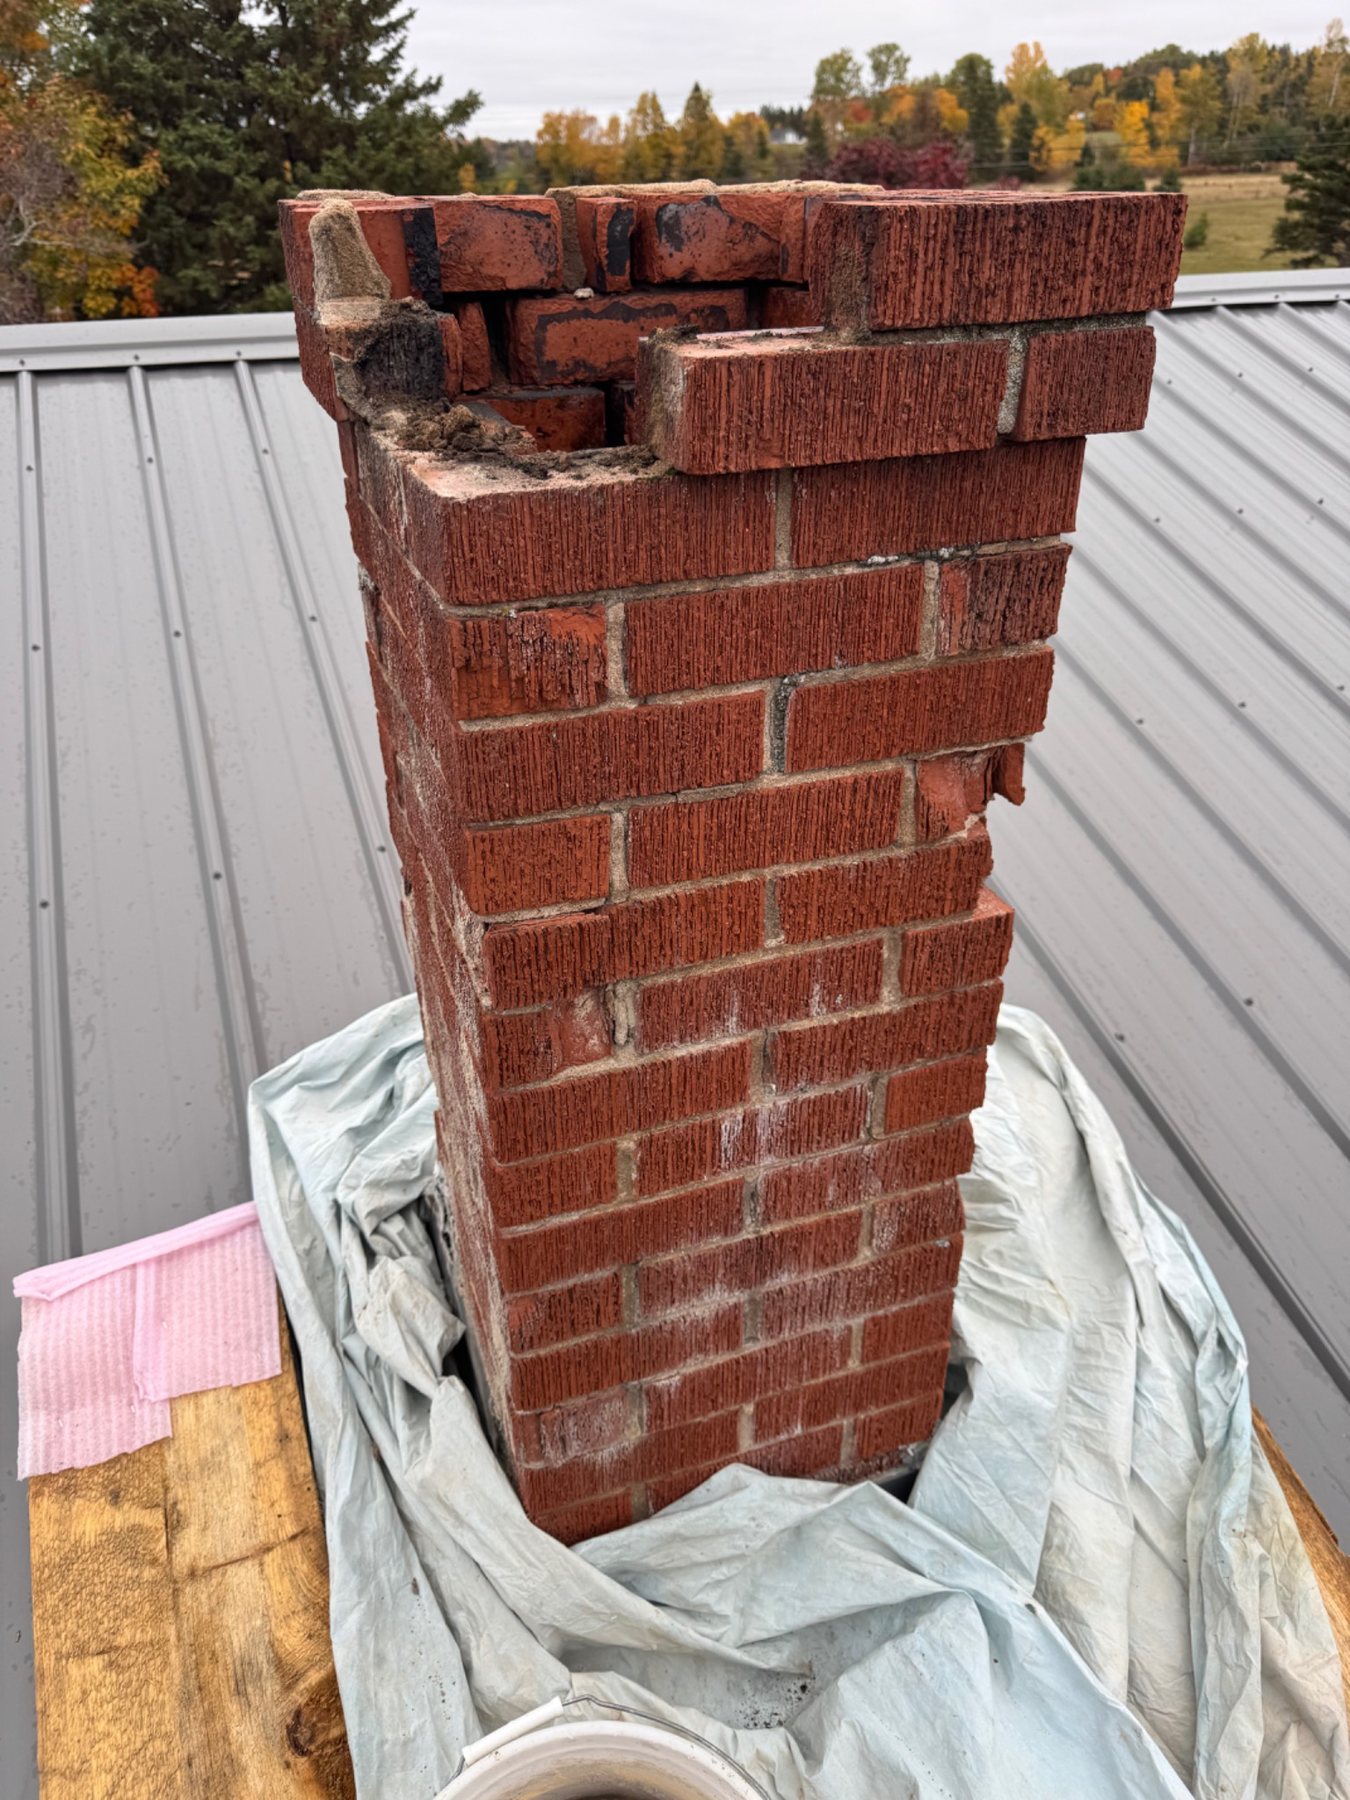
Advanced chimney deterioration showing the cumulative effect of water and weather exposure

Water damage accumulates. A leak can begin as a drainage detail problem and eventually become a mortar, brick and rebuilding problem if saturation continues through repeated winters.

A Practical Inspection Sequence

Work from the water source toward the visible damage.

1. Document the Leak

Note whether it happens during ordinary rain, wind-driven rain, prolonged storms or snowmelt. Photograph the interior stain before it dries.

2. Photograph the Whole Chimney

Include the roof intersection and the chimney top. Wide context photos help connect the visible damage to drainage and access conditions.

3. Check the Crown & Cap

From a safe location, look for obvious cracking, deterioration, missing cap components or signs of upper-stack saturation.

4. Check the Roof Intersection

Inspect flashing, nearby roofing and attic conditions where safely accessible. Do not climb onto a roof simply to diagnose a leak.

5. Read the Masonry

Look for open joints, spalling, cracks, salts, damp zones and previous patching that may show how long moisture has been present.

6. Define the Repair Scope

Separate the water-entry repair from any repointing, brick replacement, crown reconstruction, flashing work or chimney rebuilding that is also needed.

Technical References

Why this guide treats chimney leaks as a water-management problem.

NRC Canada research on masonry rain penetration emphasizes that exposure, material properties, cracking, flashing, workmanship and water-shedding details all influence moisture performance.

NRC's guidance on water-shedding details specifically identifies flashing, caps and drainage features as important ways to prevent concentrated wetting that can contribute to staining, efflorescence and freeze-thaw damage.

National Park Service preservation guidance similarly recommends diagnosing and correcting the source of unwanted moisture rather than treating only the deteriorated masonry. WETT guidance is relevant when a leaking chimney is part of a solid-fuel-burning system requiring inspection.

NRC Canada: Water-Shedding Details Improve Masonry Performance →

NRC Canada: Rain Penetration and Masonry Wall Systems →
NRC Canada: Weather as a Factor in Masonry Problems →

NPS Preservation Brief 39: Controlling Unwanted Moisture →

WETT: About SITE Inspections →

About the Author

Prepared by Dean MacArthur, DinoMac Masonry Ltd.

Dean is a third-generation mason with more than 20 years of hands-on experience working with brick, natural stone, chimneys, foundations, repointing and masonry restoration in Prince Edward Island.

The DinoMac Masonry Knowledge Centre uses that PEI field experience to explain masonry conditions that are also common across Atlantic Canada and other cold, wet climates.

Last reviewed: August 26, 2026

About DinoMac Masonry →

Chimney Leak FAQ

Common homeowner questions.

What is the most common cause of a chimney leak?

There is no single cause for every chimney. Crown, flashing, rain cap, masonry and nearby roofing should be compared against the actual leak pattern.

How can I tell if the flashing is leaking?

Dampness where the chimney passes through the roof makes flashing a strong suspect, especially when attic or ceiling staining follows rain or snowmelt.

Can a chimney leak even with a rain cap?

Yes. A cap reduces direct precipitation into the flue but does not repair a cracked crown, failed flashing or deteriorated masonry.

Can water soak through the brick and mortar?

Masonry can absorb moisture. Open joints, cracks, spalling and repeated saturation can significantly increase water movement through a chimney.

Should I waterproof a leaking chimney?

Not as a substitute for repairing the source. Appropriate breathable treatments can have a role in some cases after crown, flashing, joints and damaged masonry have been properly assessed.

Should I use a fireplace after a serious chimney leak?

If water may have affected the liner or venting system, have the solid-fuel system assessed before continued use.

Chimney Leak in PEI?

Send the whole chimney, roof intersection and the leak location.

Include a wide exterior photo, the chimney top if it can be photographed safely from the ground, close-ups of damaged masonry or flashing, the interior stain and the PEI property location. DinoMac can determine whether the visible problem points toward crown, masonry or repair work and whether another trade or inspection is also appropriate.

Contact DinoMac Masonry